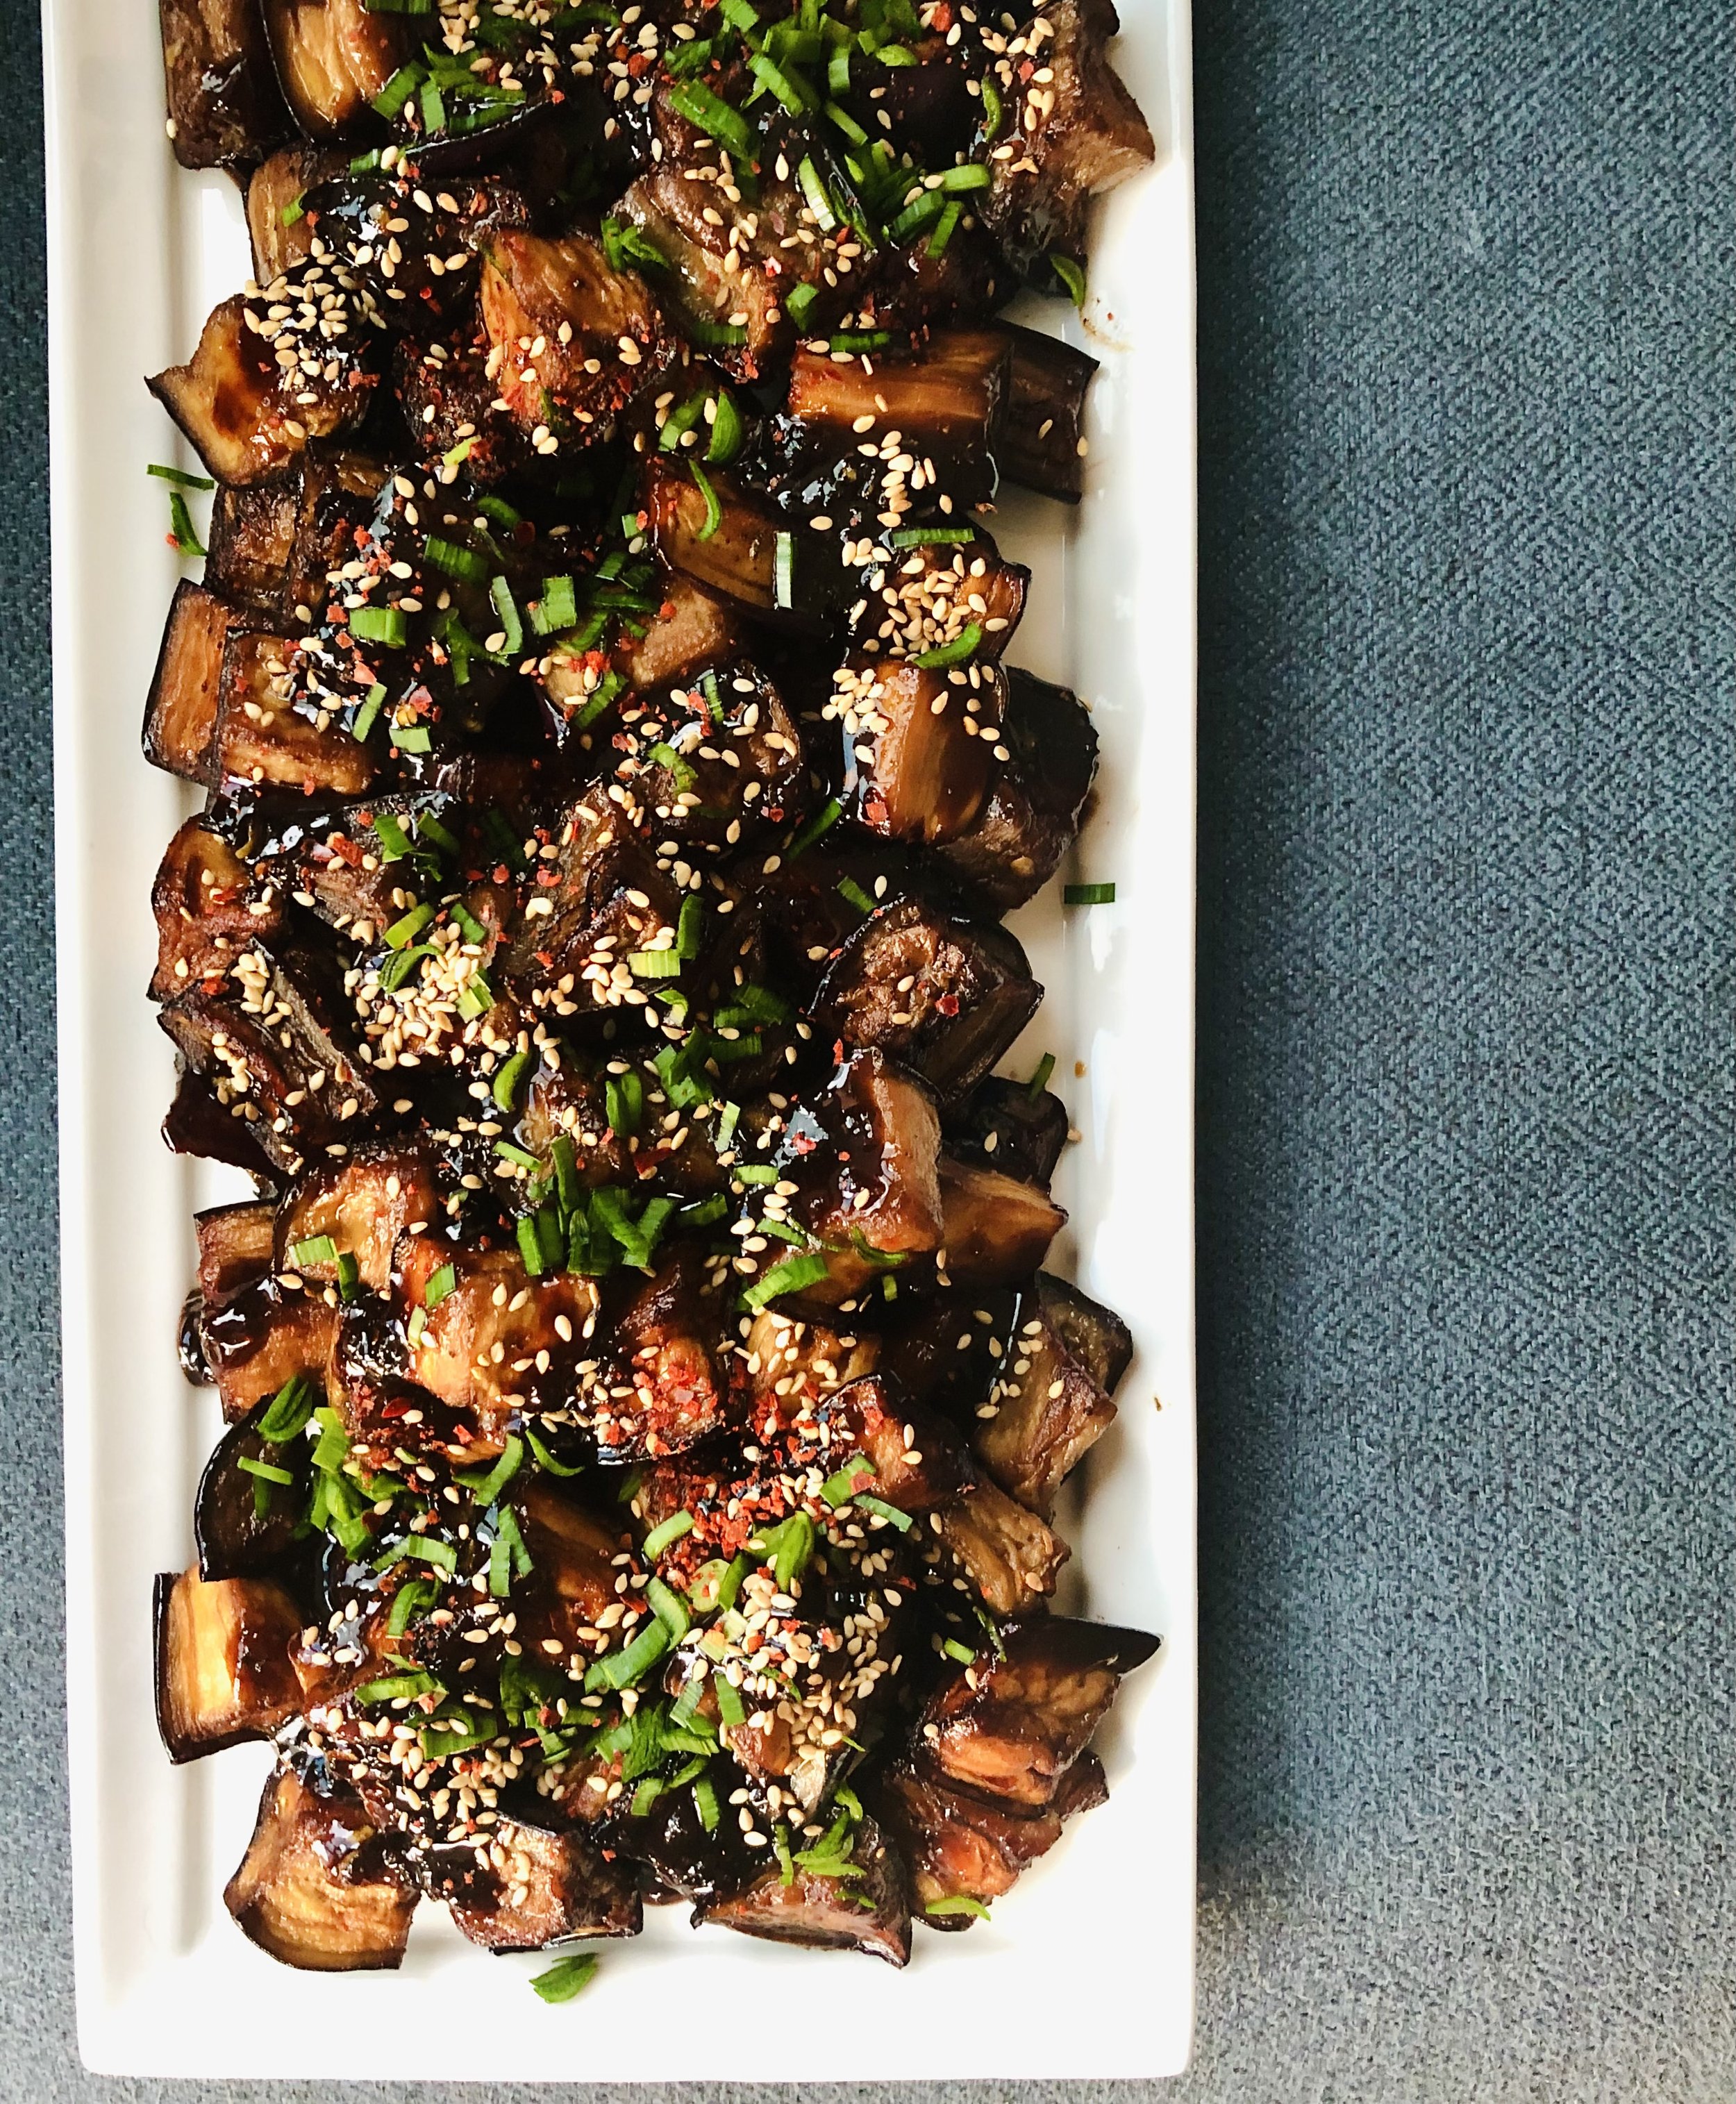
Numbing Char-siuIsh Eggplants

This has been the MOST popular recipe on my Instagram feed - more than 100 saves of the post from 2021 and tested by many of my followers and connections. It still blows my mind! Originally developed with Trumpet Mushrooms to create a deeply flavorful vegan Chinese BBQ style dish at home, in later iterations I realized Eggplants are better suited to absorb that umami bomb marinade and transform magically when roasted or deep fried.

This has converted many eggplant haters and believe it or not when I served it at a dinner party to all my meat loving friends, they couldn’t tell it’s vegan?! So this LNY , I present you an easy side that might change your perspective about eggplants.


Ingredients (serves 4 as side)

1 lb Eggplants, cut into large 2-3” chunks (preferably Chinese or Japanese variety - easily found in produce section of Asian specialty markets)

Marinade

3 tbsp Hoisin Sauce (substitute with Oyster Sauce if you’re are not Vegan/Vegetarian or you have it on hand)

4 tbsp Dark Soy Sauce (substitute with Tamari or Coco Aminos to suit your dietary restrictions. You can use Light Soy Sauce as well , just increase it to 5 tbsp)

2 tsp Rice Wine Vinegar (substitute with white vinegar you have on hand, but do try to scout rice vinegar - it’s pretty great and versatile)

1.5 tsp Pomegranate Molasses (substitute with 1 tsp Maple Syrup and increase the rice wine vinegar to 3 tsp)

1.5 tsp Maple Syrup (extra 1 tbsp for glaze)

5-7g Fresh Ginger, peeled and grated

6-7 Garlic Cloves, minced

1 tsp Chinese Five Spice Powder

1-1.5 tsp ground Sichuan peppercorns (preferably green variety but the red ones are fantastic too)

1 tsp Gochugaru (substitute with red pepper flakes of your choice)

1-2 Star Anise, whole

Neutral Oil for cooking

Garnish

2 tbsp finely chopped Chives

2 tsp toasted Sesame Seeds

1/2 tsp Gochugaru (substitute with red pepper flakes of your choice)


Directions

🍆Salt eggplant chunks and let it sit on a colander for 20-25 mins (skip this if using Japanese/Chinese Eggplants). Meanwhile, whisk all marinade ingredients until smooth (don’t worry about the whole star anise , it’s for the most amazing aroma)

🍆Transfer drained eggplant chunks and marinade into a large ziplock bag. Make sure it’s sealed properly, shake well until eggplants look well coated. Let them marinate for at least 4 hrs or upto overnight. Soak up all the deliciousness!!

🍆 Fish out eggplant cubes and transfer marinade (alongwith the whole star anise) to a saucepan. At this stage, you can either bake or deep-fry the marinated eggplants - 

Baking: pre-heat oven to 425F, toss marinated eggplants in 2.5 tbsp Neutral Oil. Bake on a parchment lined sheet for 25 mins or until the outside is golden crisp and inside is soft. I recommend dividing into large sheets to avoid crowding in the oven

Deep fry: heat 200ml neutral oil. Once shimmering, fry eggplants for about 7-8 mins in three batches

🍆 Make glaze: add 1 tbsp maple syrup and about 1/4 cup (40ml) water into the saucepan with reserved marinade. Give it a good mix and cook on medium heat for 10-12 mins or until syrupy consistency

🍆Toss fried/baked eggplants in the sticky glaze so that everything is well coated. Transfer sticky golden eggplants to a serving platter and garnish. Chives and chile pepper. Enjoy!

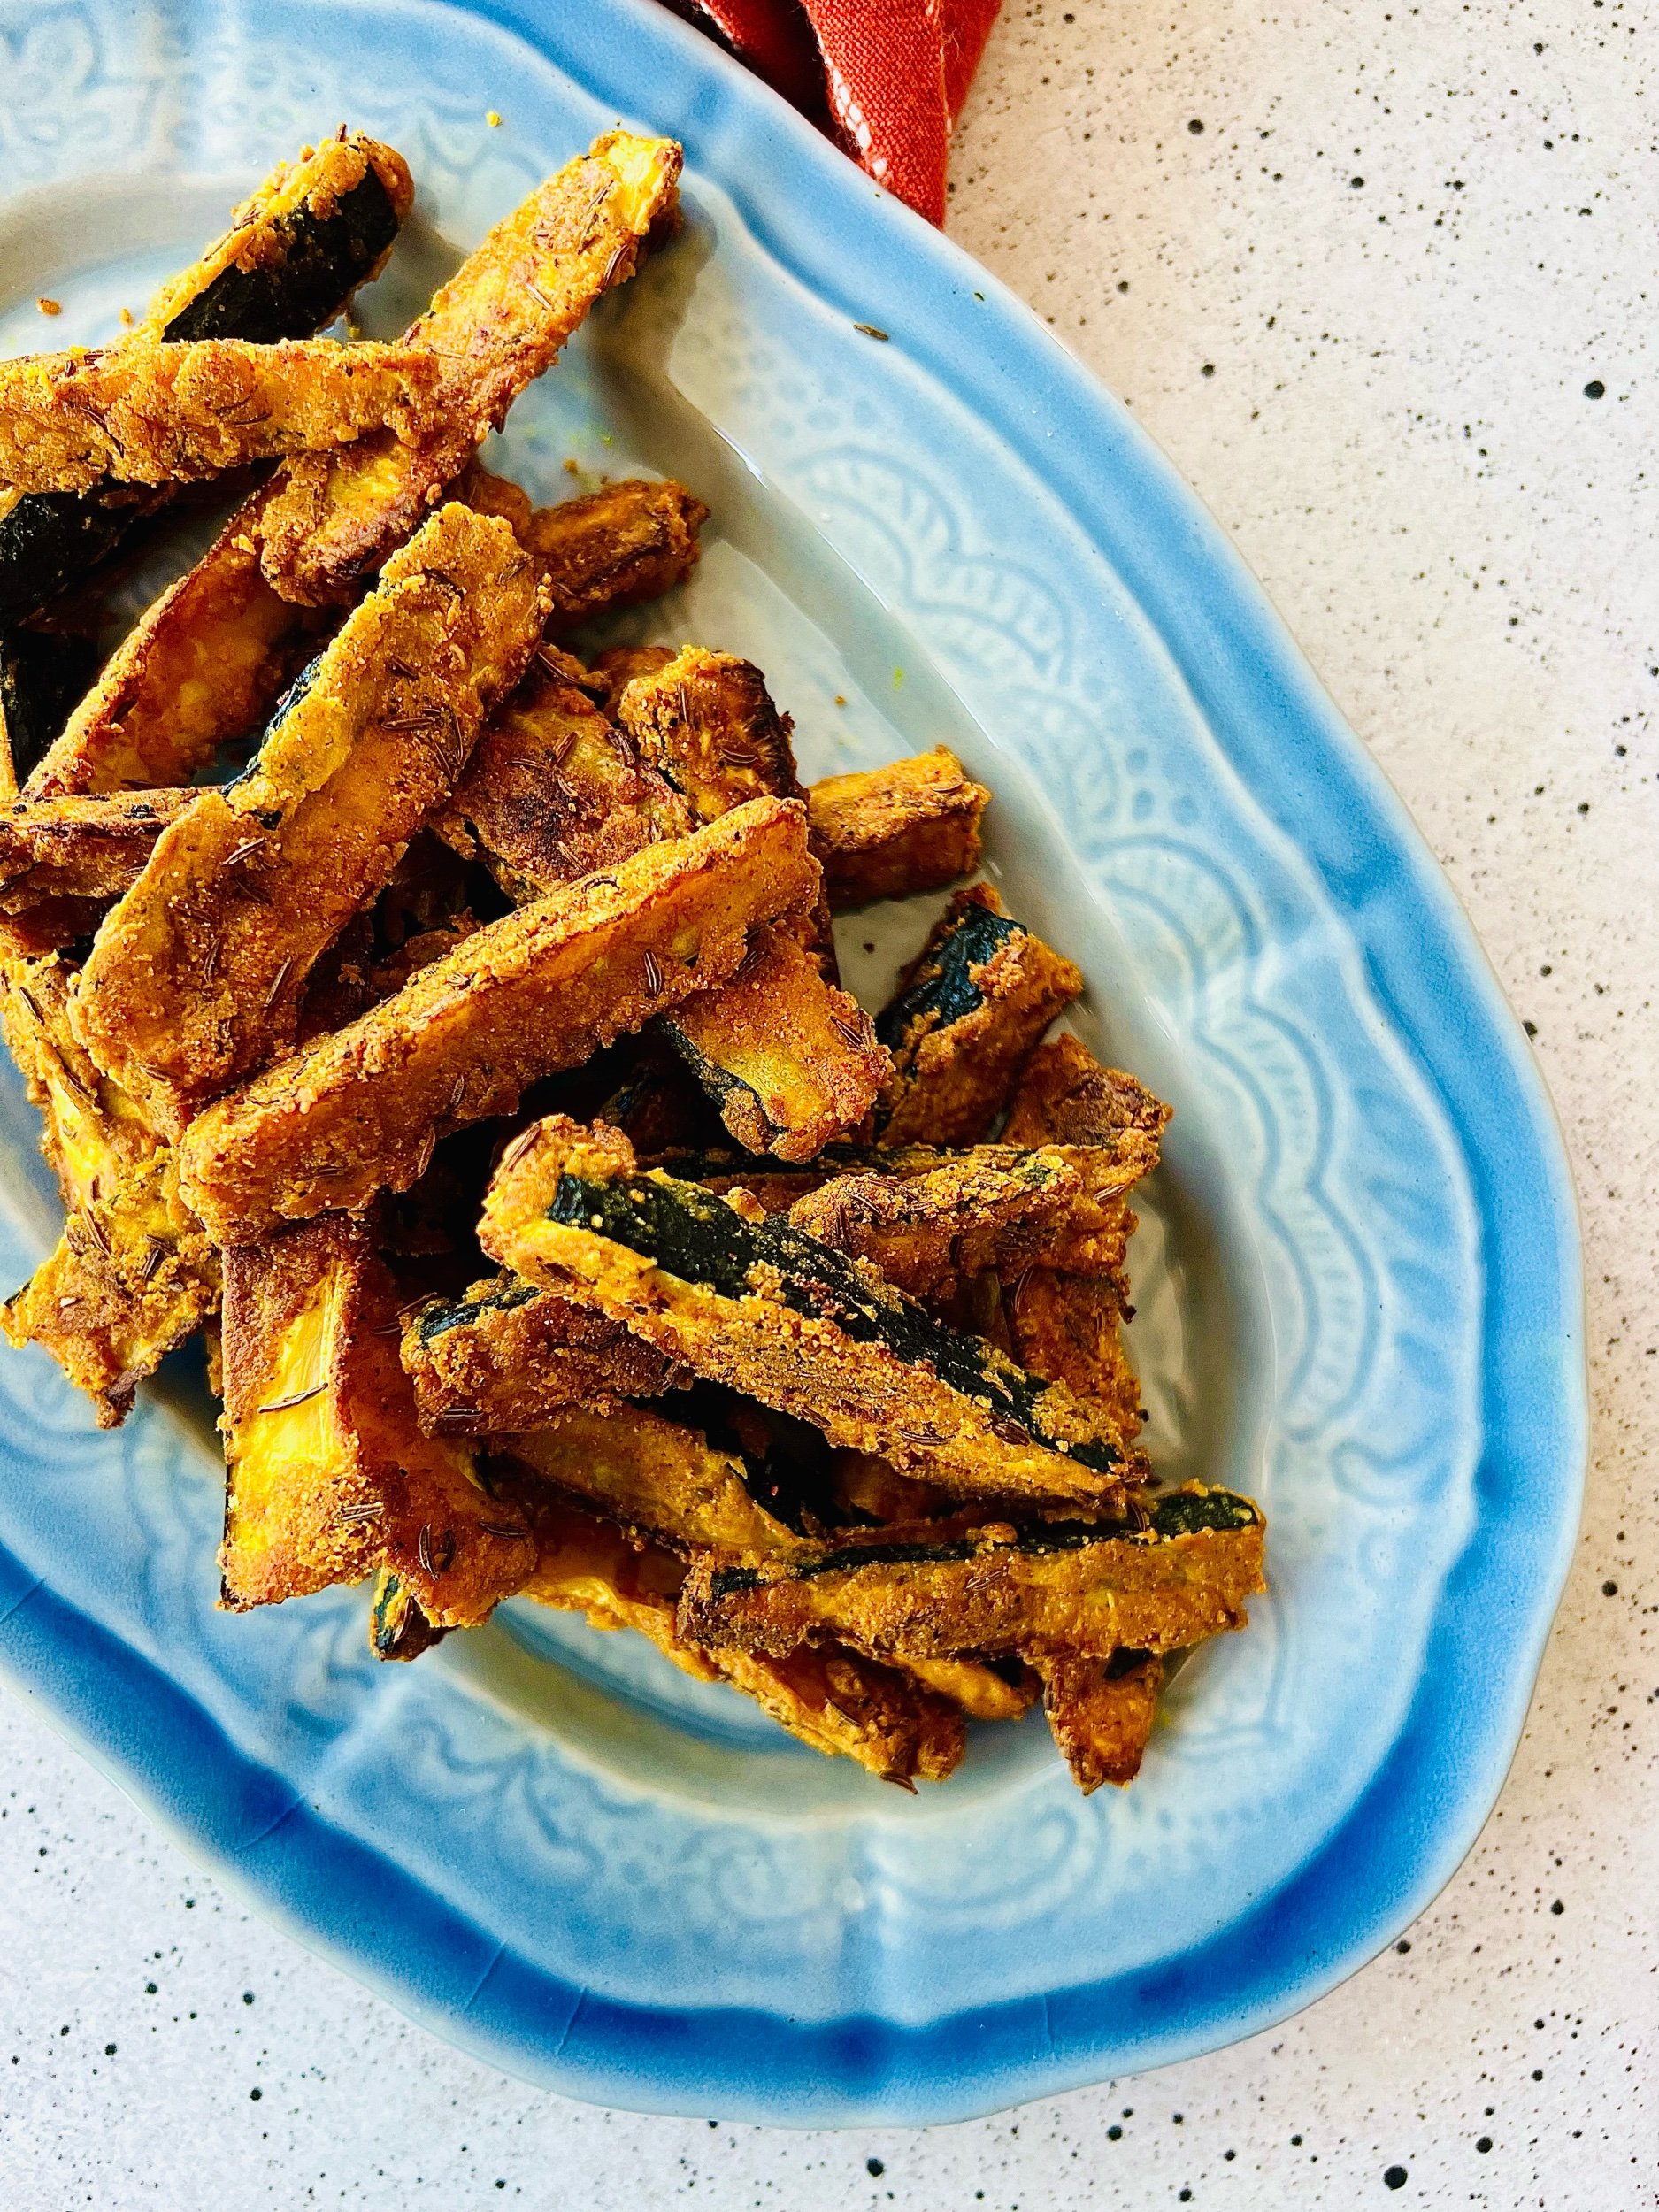
Clara’s Courgette Oven Fries


A very very special recipe to commemorate my bucket loads of gratitude, love and respect for Clara Loizzo - a professional educator based in Nice 🇫🇷 who has been enthusiastically cooking most of my recipes for past two years - translating my recipes to French, printing those out to refer while cooking, hunting down specialty ingredients to try out my whimsical creations and sending me sweet note of appreciation after trying out the dish. Isn’t she the best?!

On several occasions, I would post a recipe feeling proud of creating something special and secretly wishing at least one person should make it to know what I mean - and that one person has always been Clara ♥️

Last summer, to honor her birthday and her love for Courgettes and Cumin … I created these Masa Harina Crusted Zucchini Fries baked in oven and spiked with toasted Cumin seeds and Chaat Masala. We usually have it with curry ketchup but any hot sauce or Garlic Aioli will be awesome!


Ingredients (serves 2-4 as side)

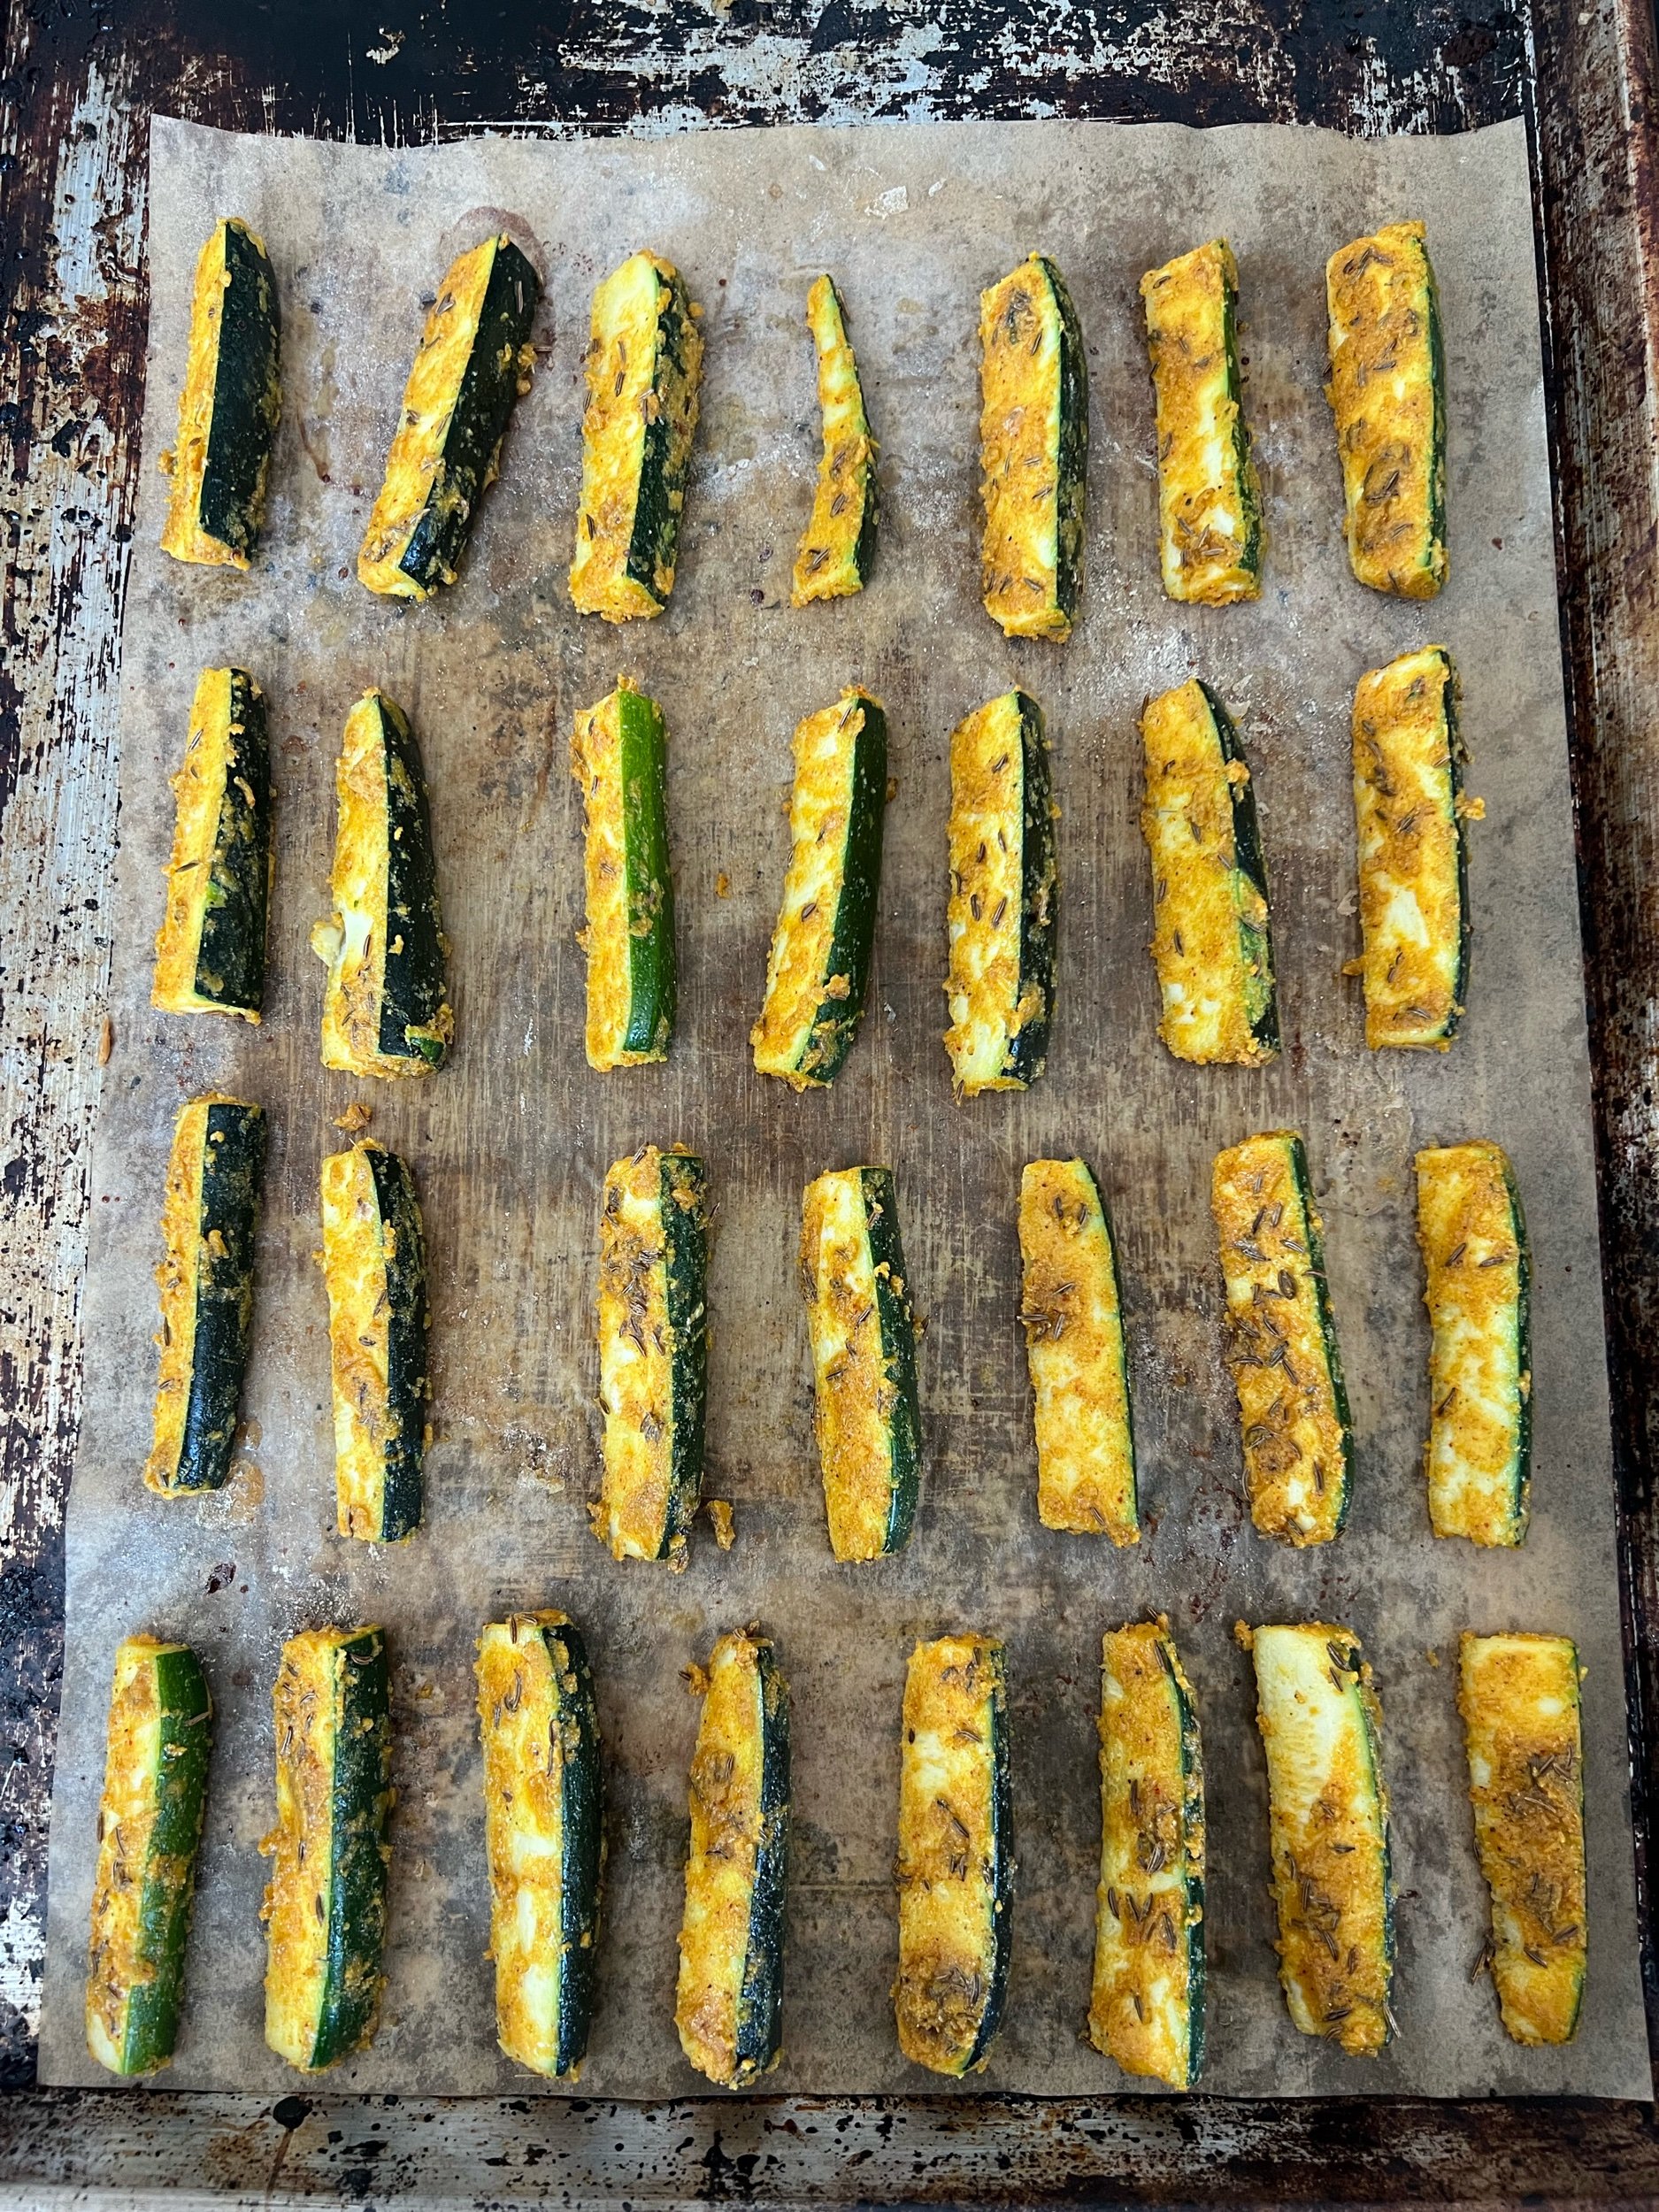
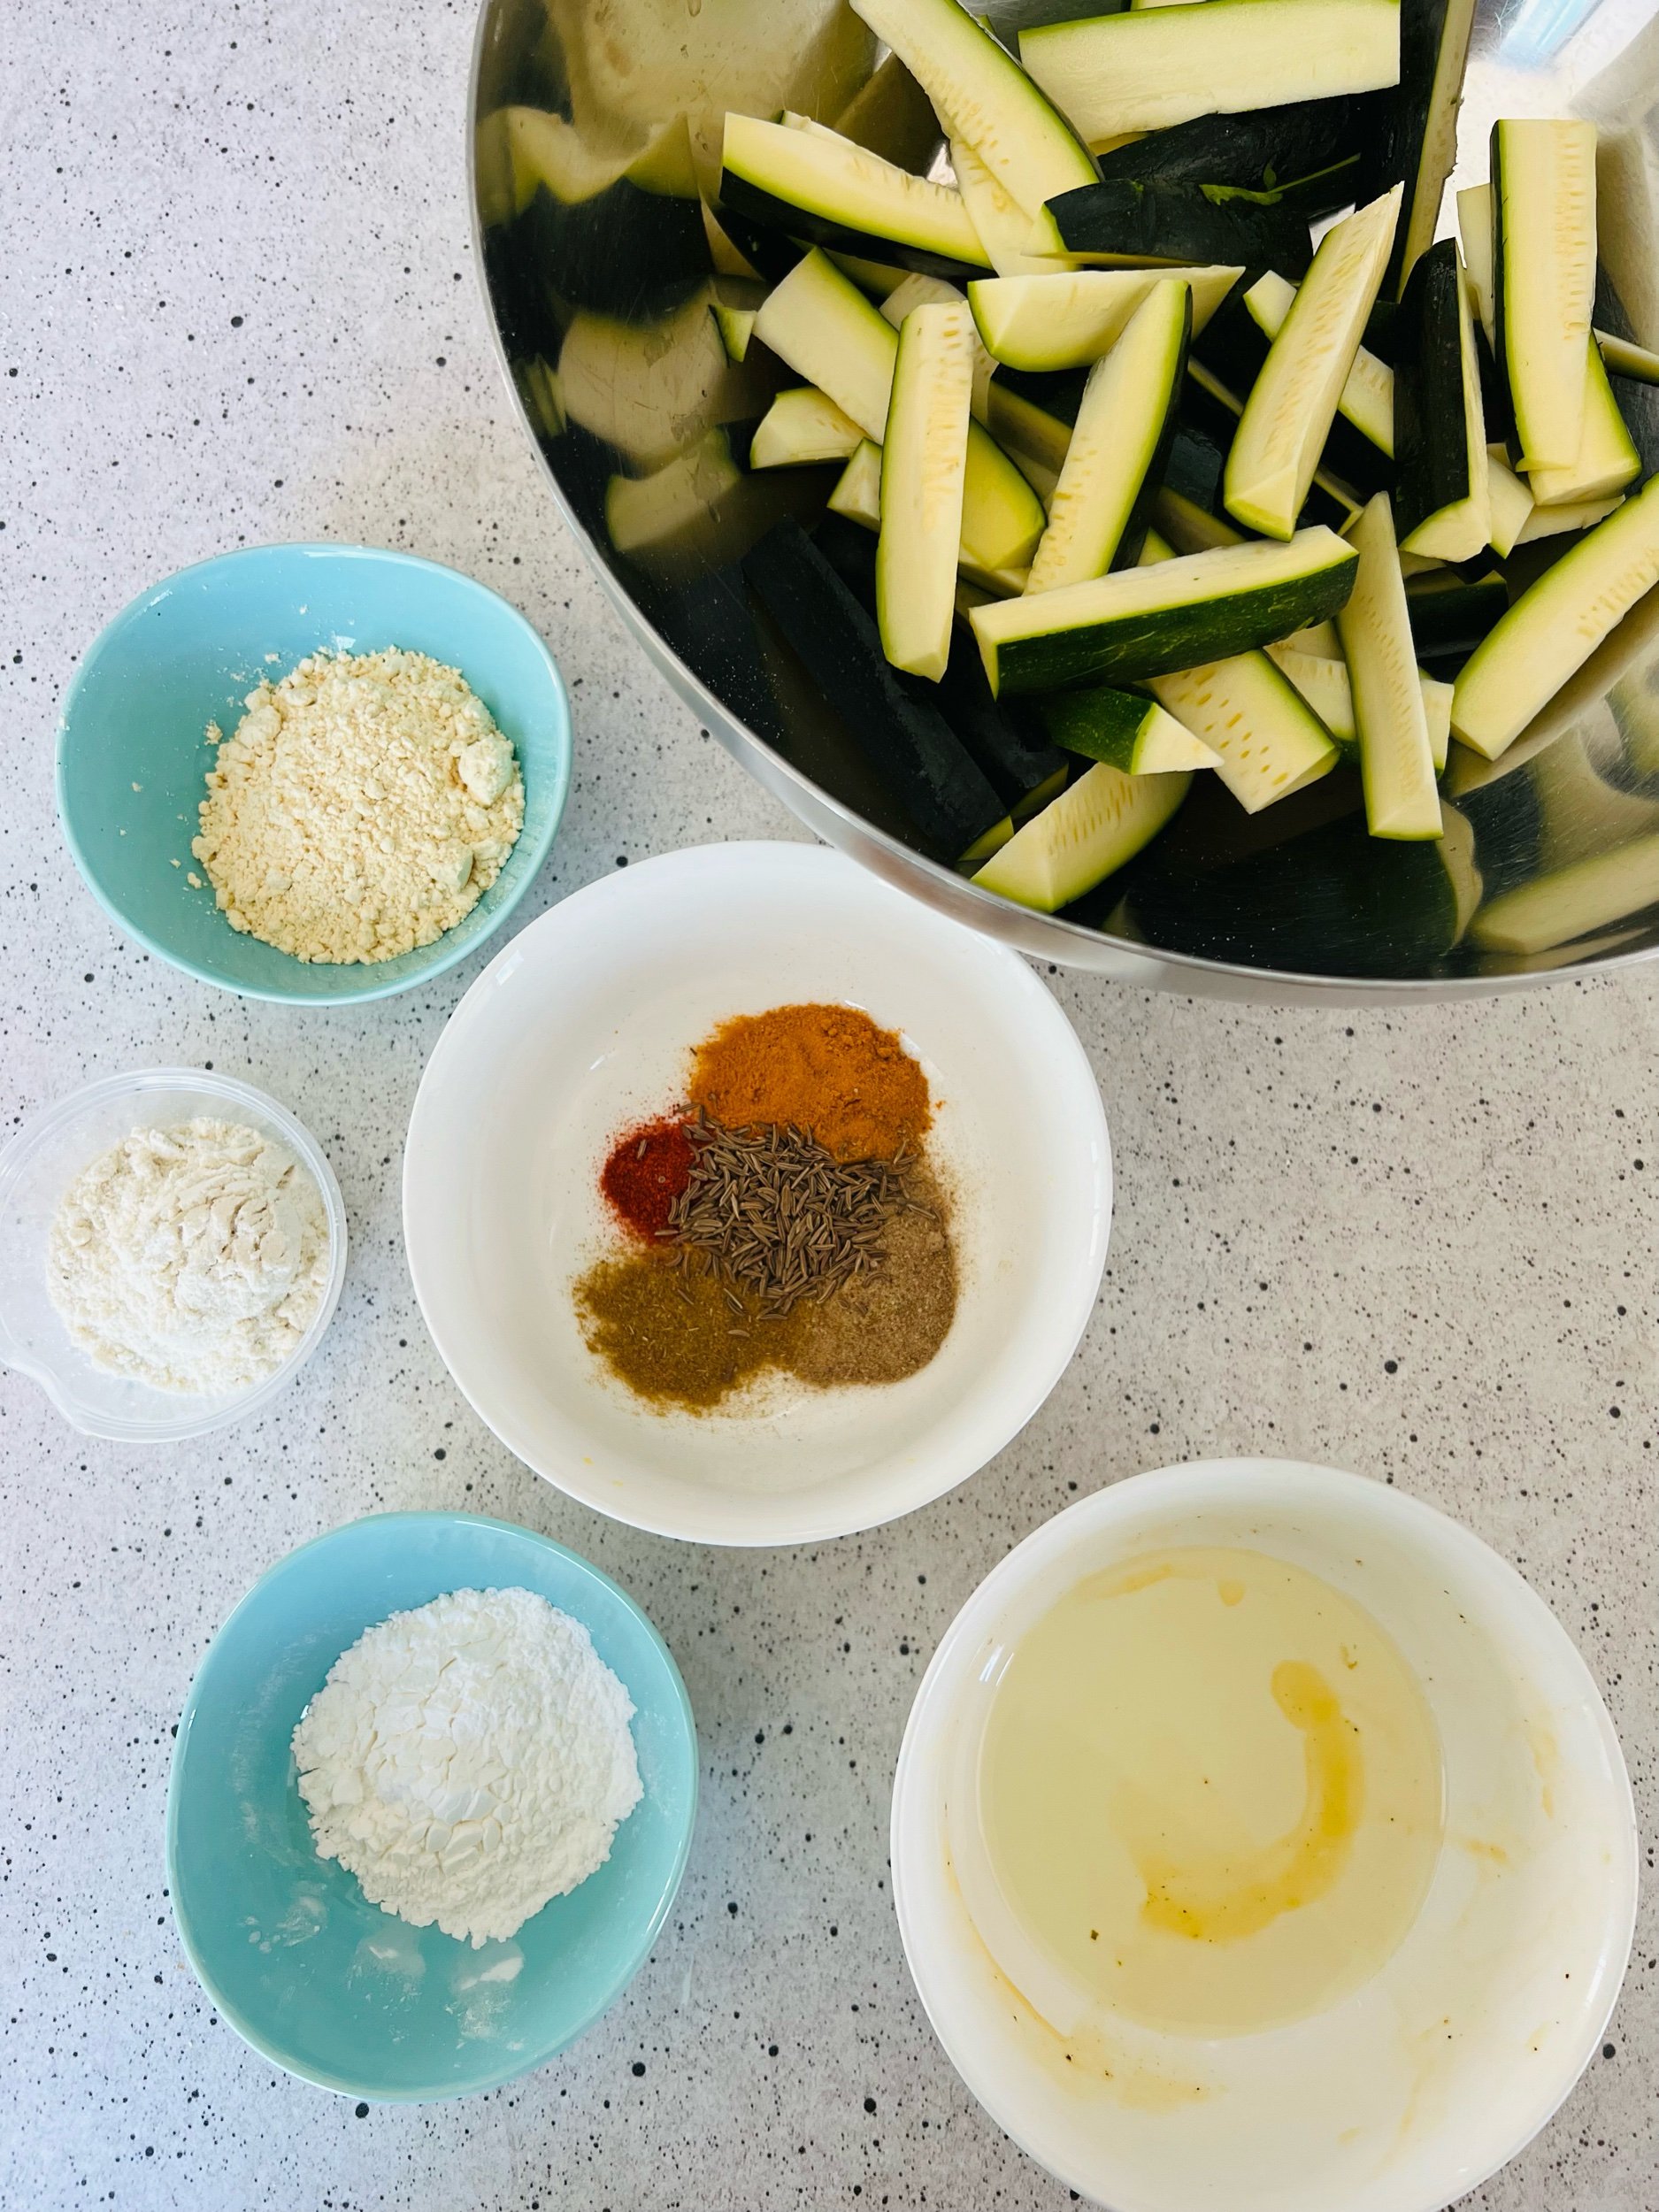
620g Courgette / Zucchini, cut into thick batons about 1/2” thick and 2-2.5” long

3 tbsp Chickpea Flour (substitute with regular White Rice Flour)

2 tbsp Masa Harina (substitute with Cornmeal)

1 tbsp Cornstarch or Cornflour

3/4 tsp Ground Turmeric

3/4-1 tsp Chaat Masala

2 tsp Toasted cumin Seeds, lightly crushed

1 tsp Kashmiri Chili Powder 

Pinch of salt

96ml Neutral Oil (little more than 6 tbsp)

Lemon and chopped fresh herbs such as cilantro / parsley / basil for serving


Directions

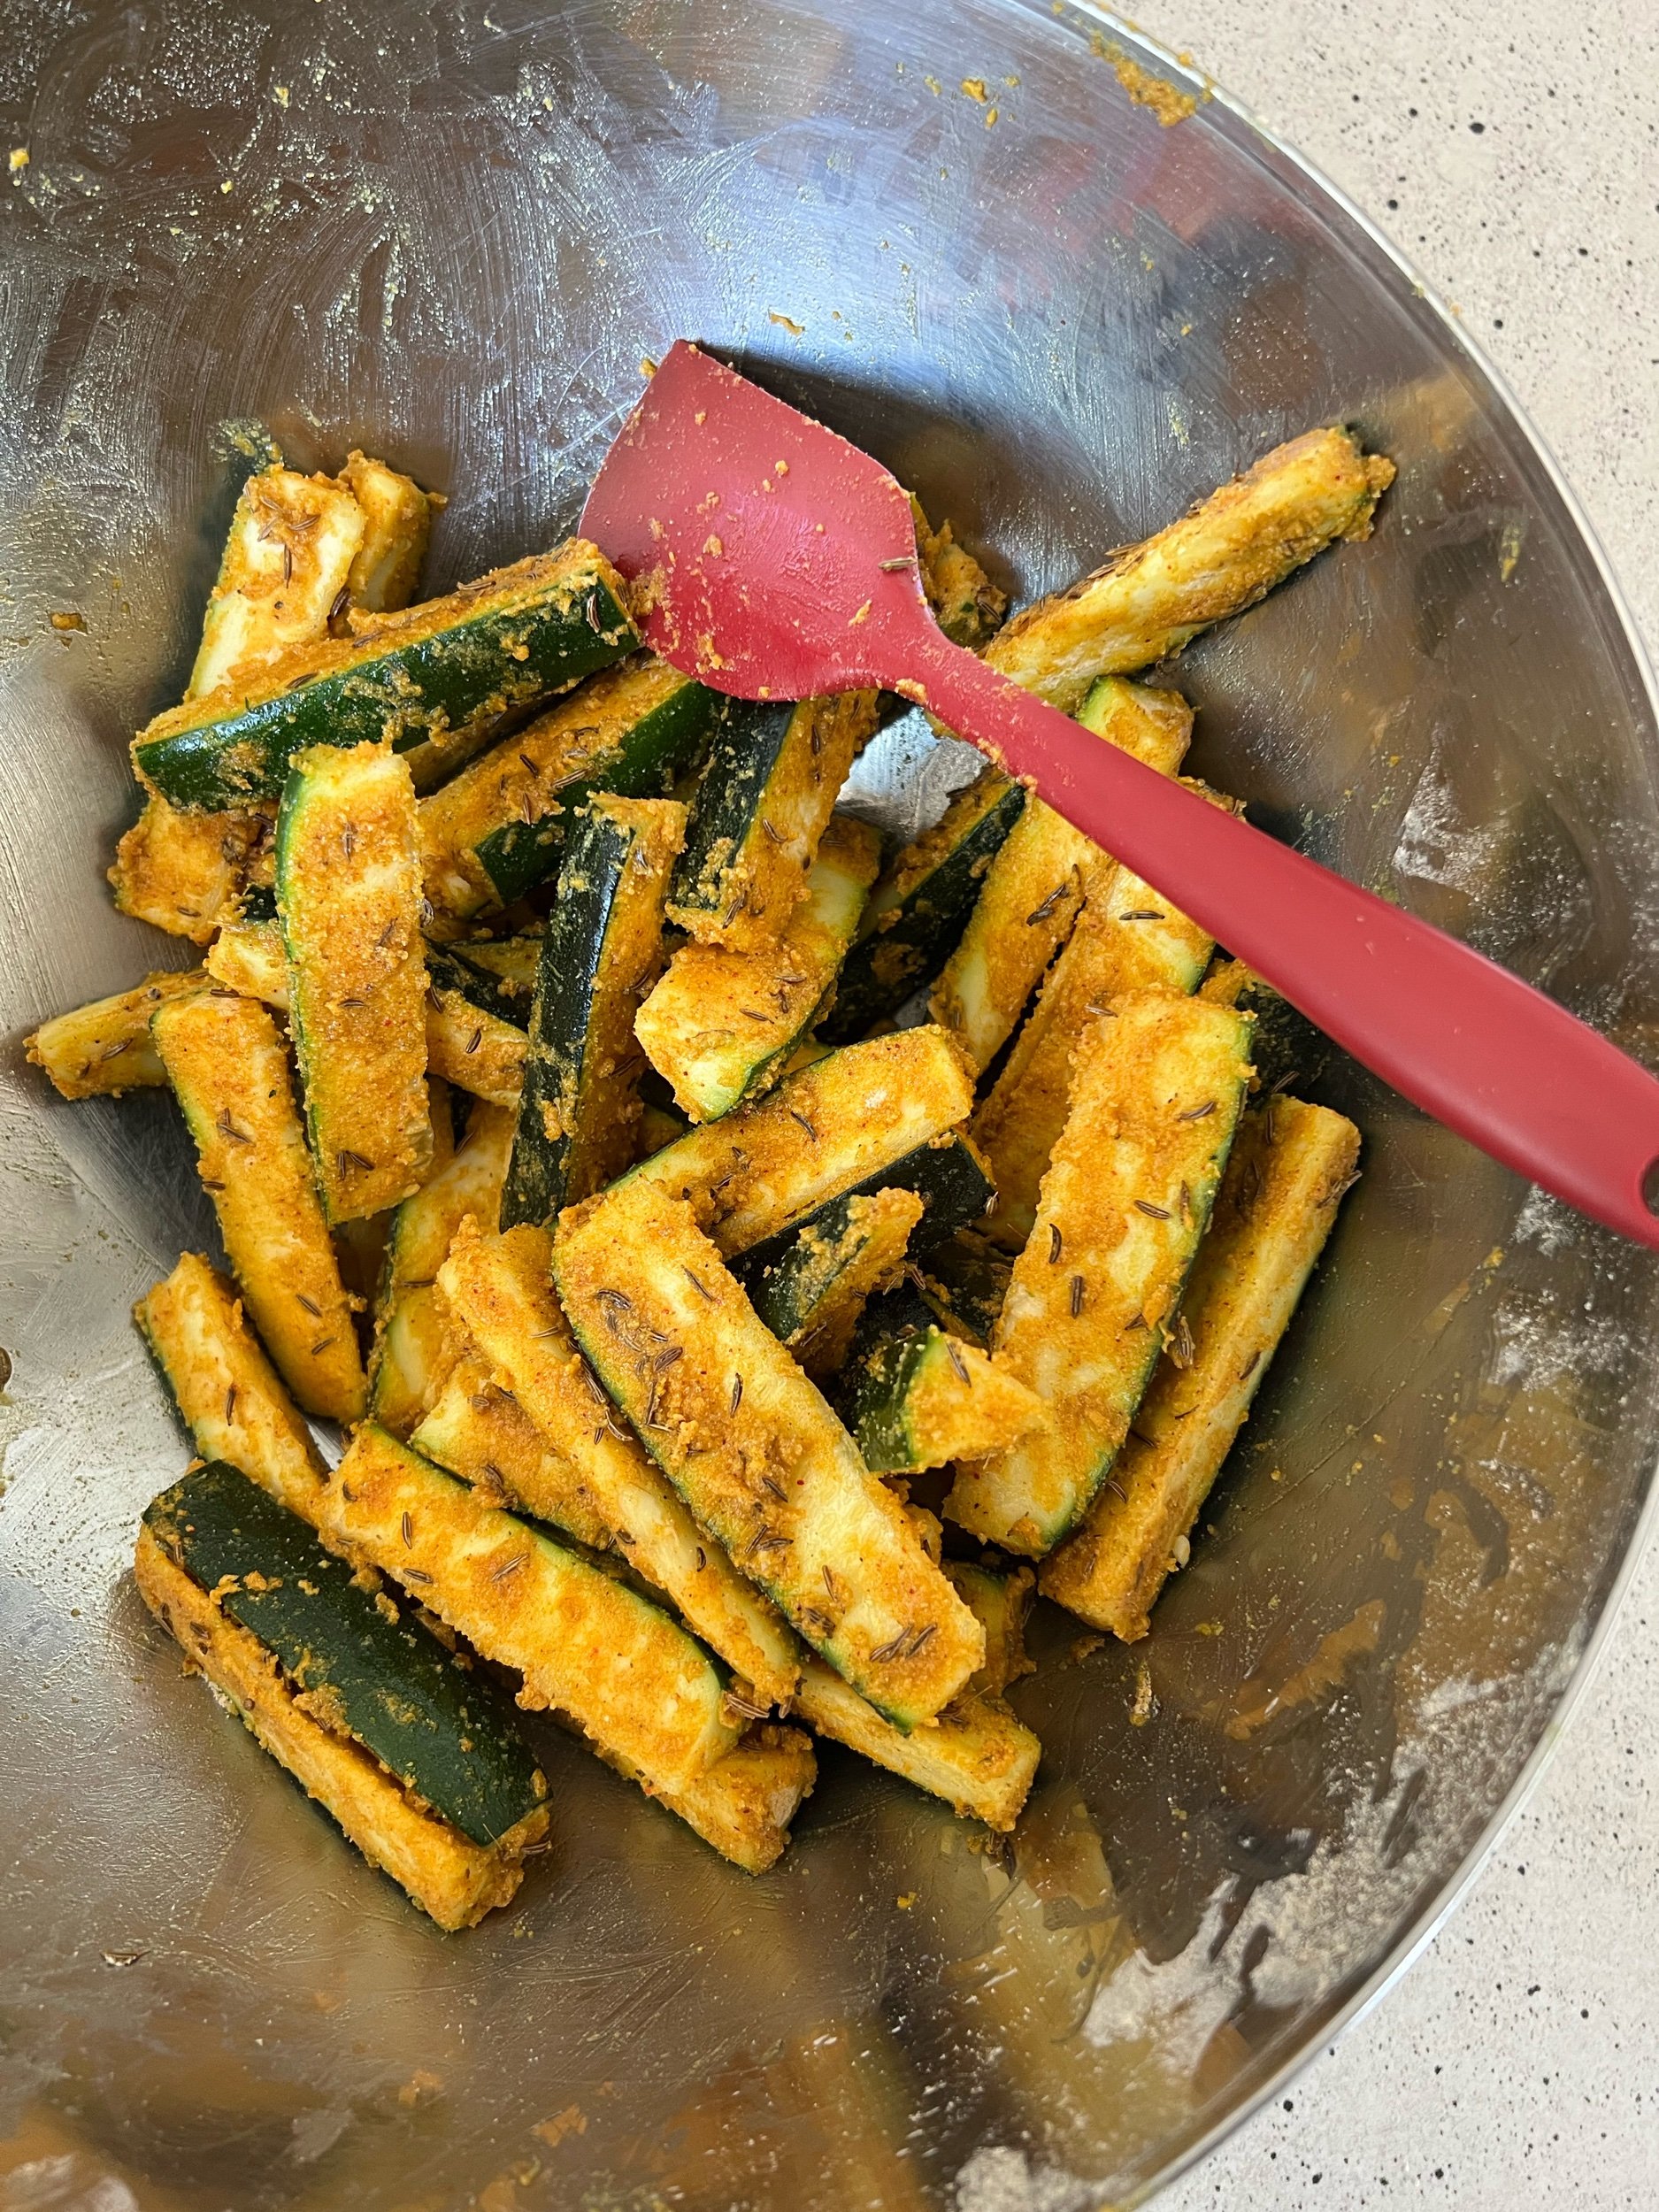
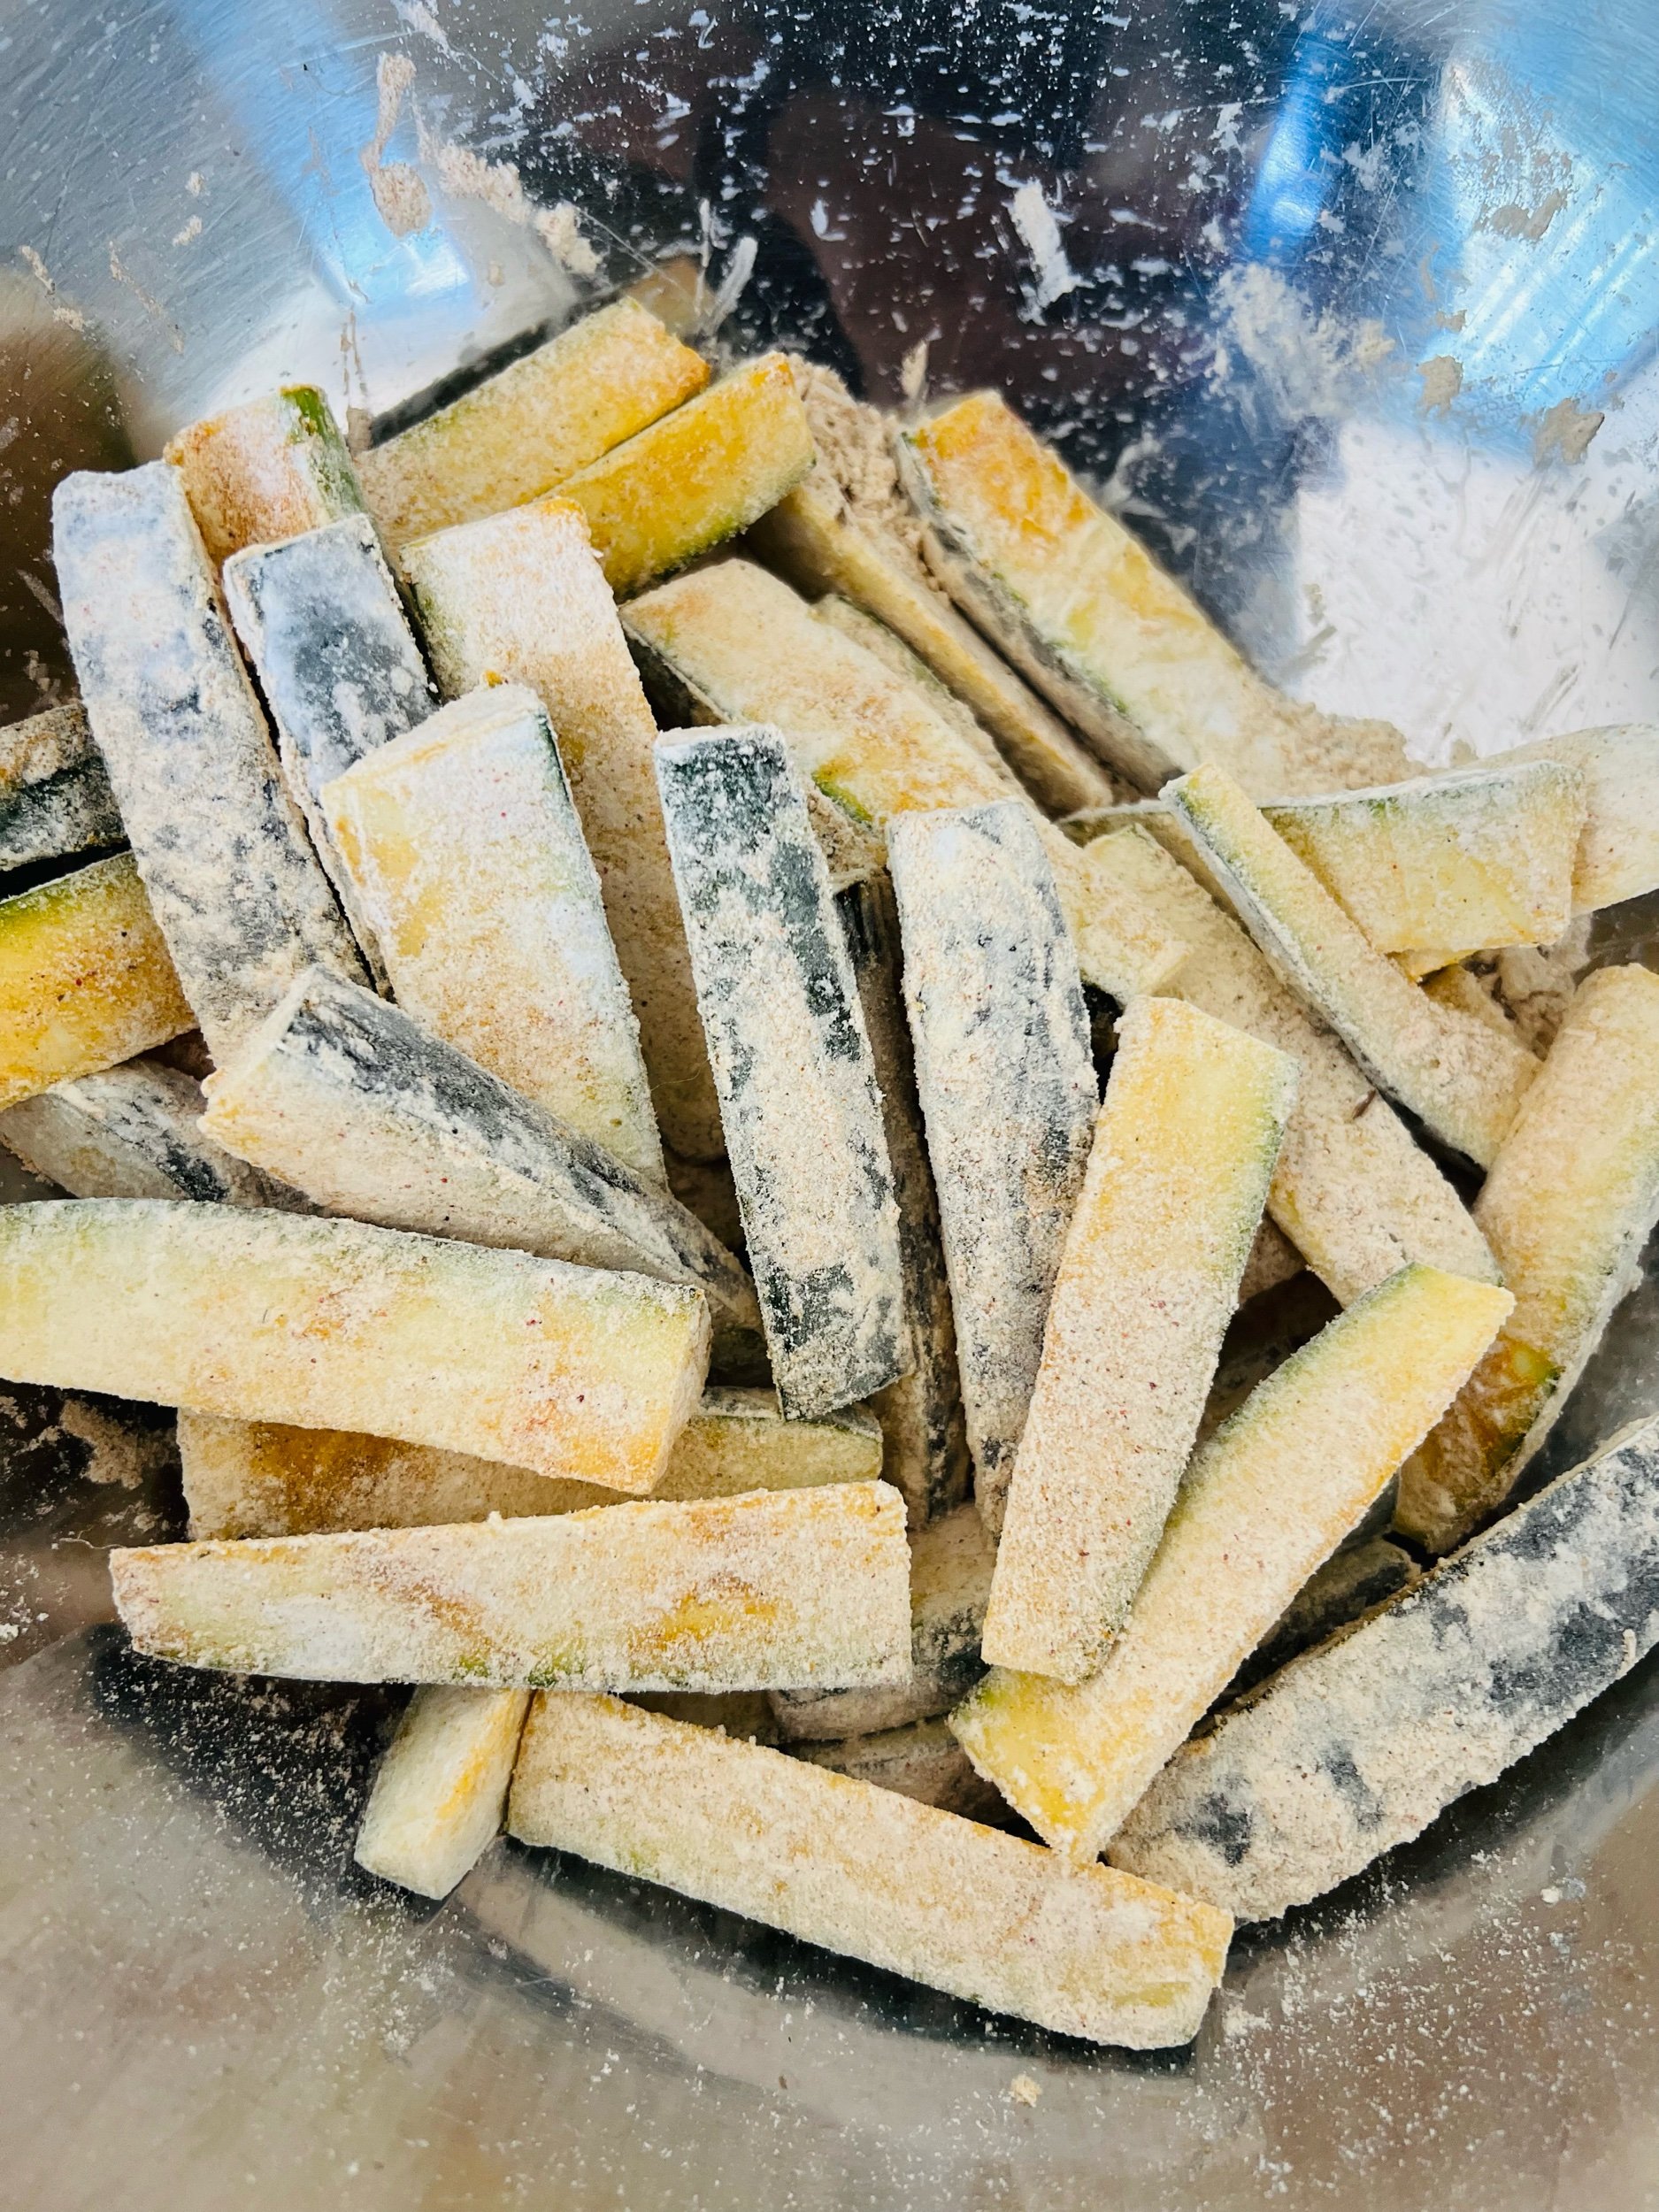
💥Pre-heat oven to 425F (230C) and line 2 baking sheets with parchment. In a large bowl, combine courgette / zucchini batons with everything. Toss until all the batons are well coated

💥Transfer the coated batons onto the prepared baking sheets (skin side down). Make sure not to crowd

💥Bake for 35-38 mins or until outside looks deeply golden and crisp. Transfer into a lipped platter, finish it with generous squeeze of lemon and some sprinkling of fresh herbs of your choice. Enjoy with some nice crisp white or Rosé

Not Your Average Bruschetta

Warning: Lots of scandalous switch-ups and additions here! I have loved bruschetta all my life as it has three of my most favorite things in whole wide world - fresh tomatoes, cheese and a solid crusty bread. Hence, I’m quite particular about maintaining the purity of the classic while upping the umami game. The aromatic dressing is what makes it unique, feel free to re-purpose it in other summer salads too! Skip the bread, put a burrata on a bed of these dressed up tomatoes and you have a reimagined caprese salad. As you can sense from my pushy tone, this summer I urge you to make this at least once.

*Note: The quality of ingredients is truly what differentiates an exemplary bruschetta from a regular one, so make sure to use top quality oil, good seasonal toms, fresh herbs (instead of dried bottles ones) and of course a nice baguette or sourdough with a satisfying chew!


Ingredients (makes enough for 8-10 pieces)

Dressing

2 Garlic Cloves, crushed

3 tbsp Fresh Oregano Leaves, coarsely chopped

1/2 tbsp Fennel Seeds, toasted and crushed

1 tsp Ground Allspice Berries

1 tsp Coriander seeds, toasted and crushed

1 tsp Hot pepper Flakes, more to finish

2.5 tbsp Olive Oil

1/2 tbsp Lemon Zest

1 tbsp Lemon Juice

1/2 tsp Brown Sugar

Pinch of Fine Sea Salt

Tomato Prep

350-370g (about 2 cups) mix of Cherry and Heirloom Tomatoes, diced

8-10g Sweet Basil Leaves, finely chopped

1.5 tsp BalsamicVinegar

1/4 tsp Fine Sea Salt

40g combination of Grated Parmesan and Gruyère in your preferred ratio (if you don’t find Gruyère or looking for a pasteurized cheese alternative then you can use Fontina or Emmental or else you can just use 40g good quality Parmesan)

8-10 Slices of Baguettes (the ones here in photo are from Middlebrow Bakery)

Couple tablespoons of Olive Oil for Toasting


Directions

🍅 In a small heatproof bowl - combine garlic, chopped oregano leaves, fennel, allspice berries, coriander and hot pepper flakes. Microwave Olive Oil for 2 mins (or until shimmering) in 30 sec bursts, then immediately pour the oil into bowl. Give everything a good mix and let it come to room temperature. Then add lemon zest, lemon juice, salt and sugar into the aromatic oil, give it a good mix. Keep it aside for at least 15 mins so that the flavors meld properly

🍅 In a medium bowl, combine tomatoes, basil, vinegar, salt and cheeses. Transfer the cooled aromatic oil into this bowl and mix gently until everything is well combined. Adjust seasoning if required

🍅 Heat up a skillet (preferably a cast iron one), brush the baguette slices with some olive oil, and lightly toast in batches (avoid over crowding the pan). Spoon the dressed tomato mixture on each toast and finish with more hot pepper flakes (optional). Serve some really good quality extra virgin olive oil on the side so that whoever wants the oomph can drizzle some on top before popping one into their mouth.

*Skip the cheese or use Vegan alternative to Parmesan to keep this Vegan

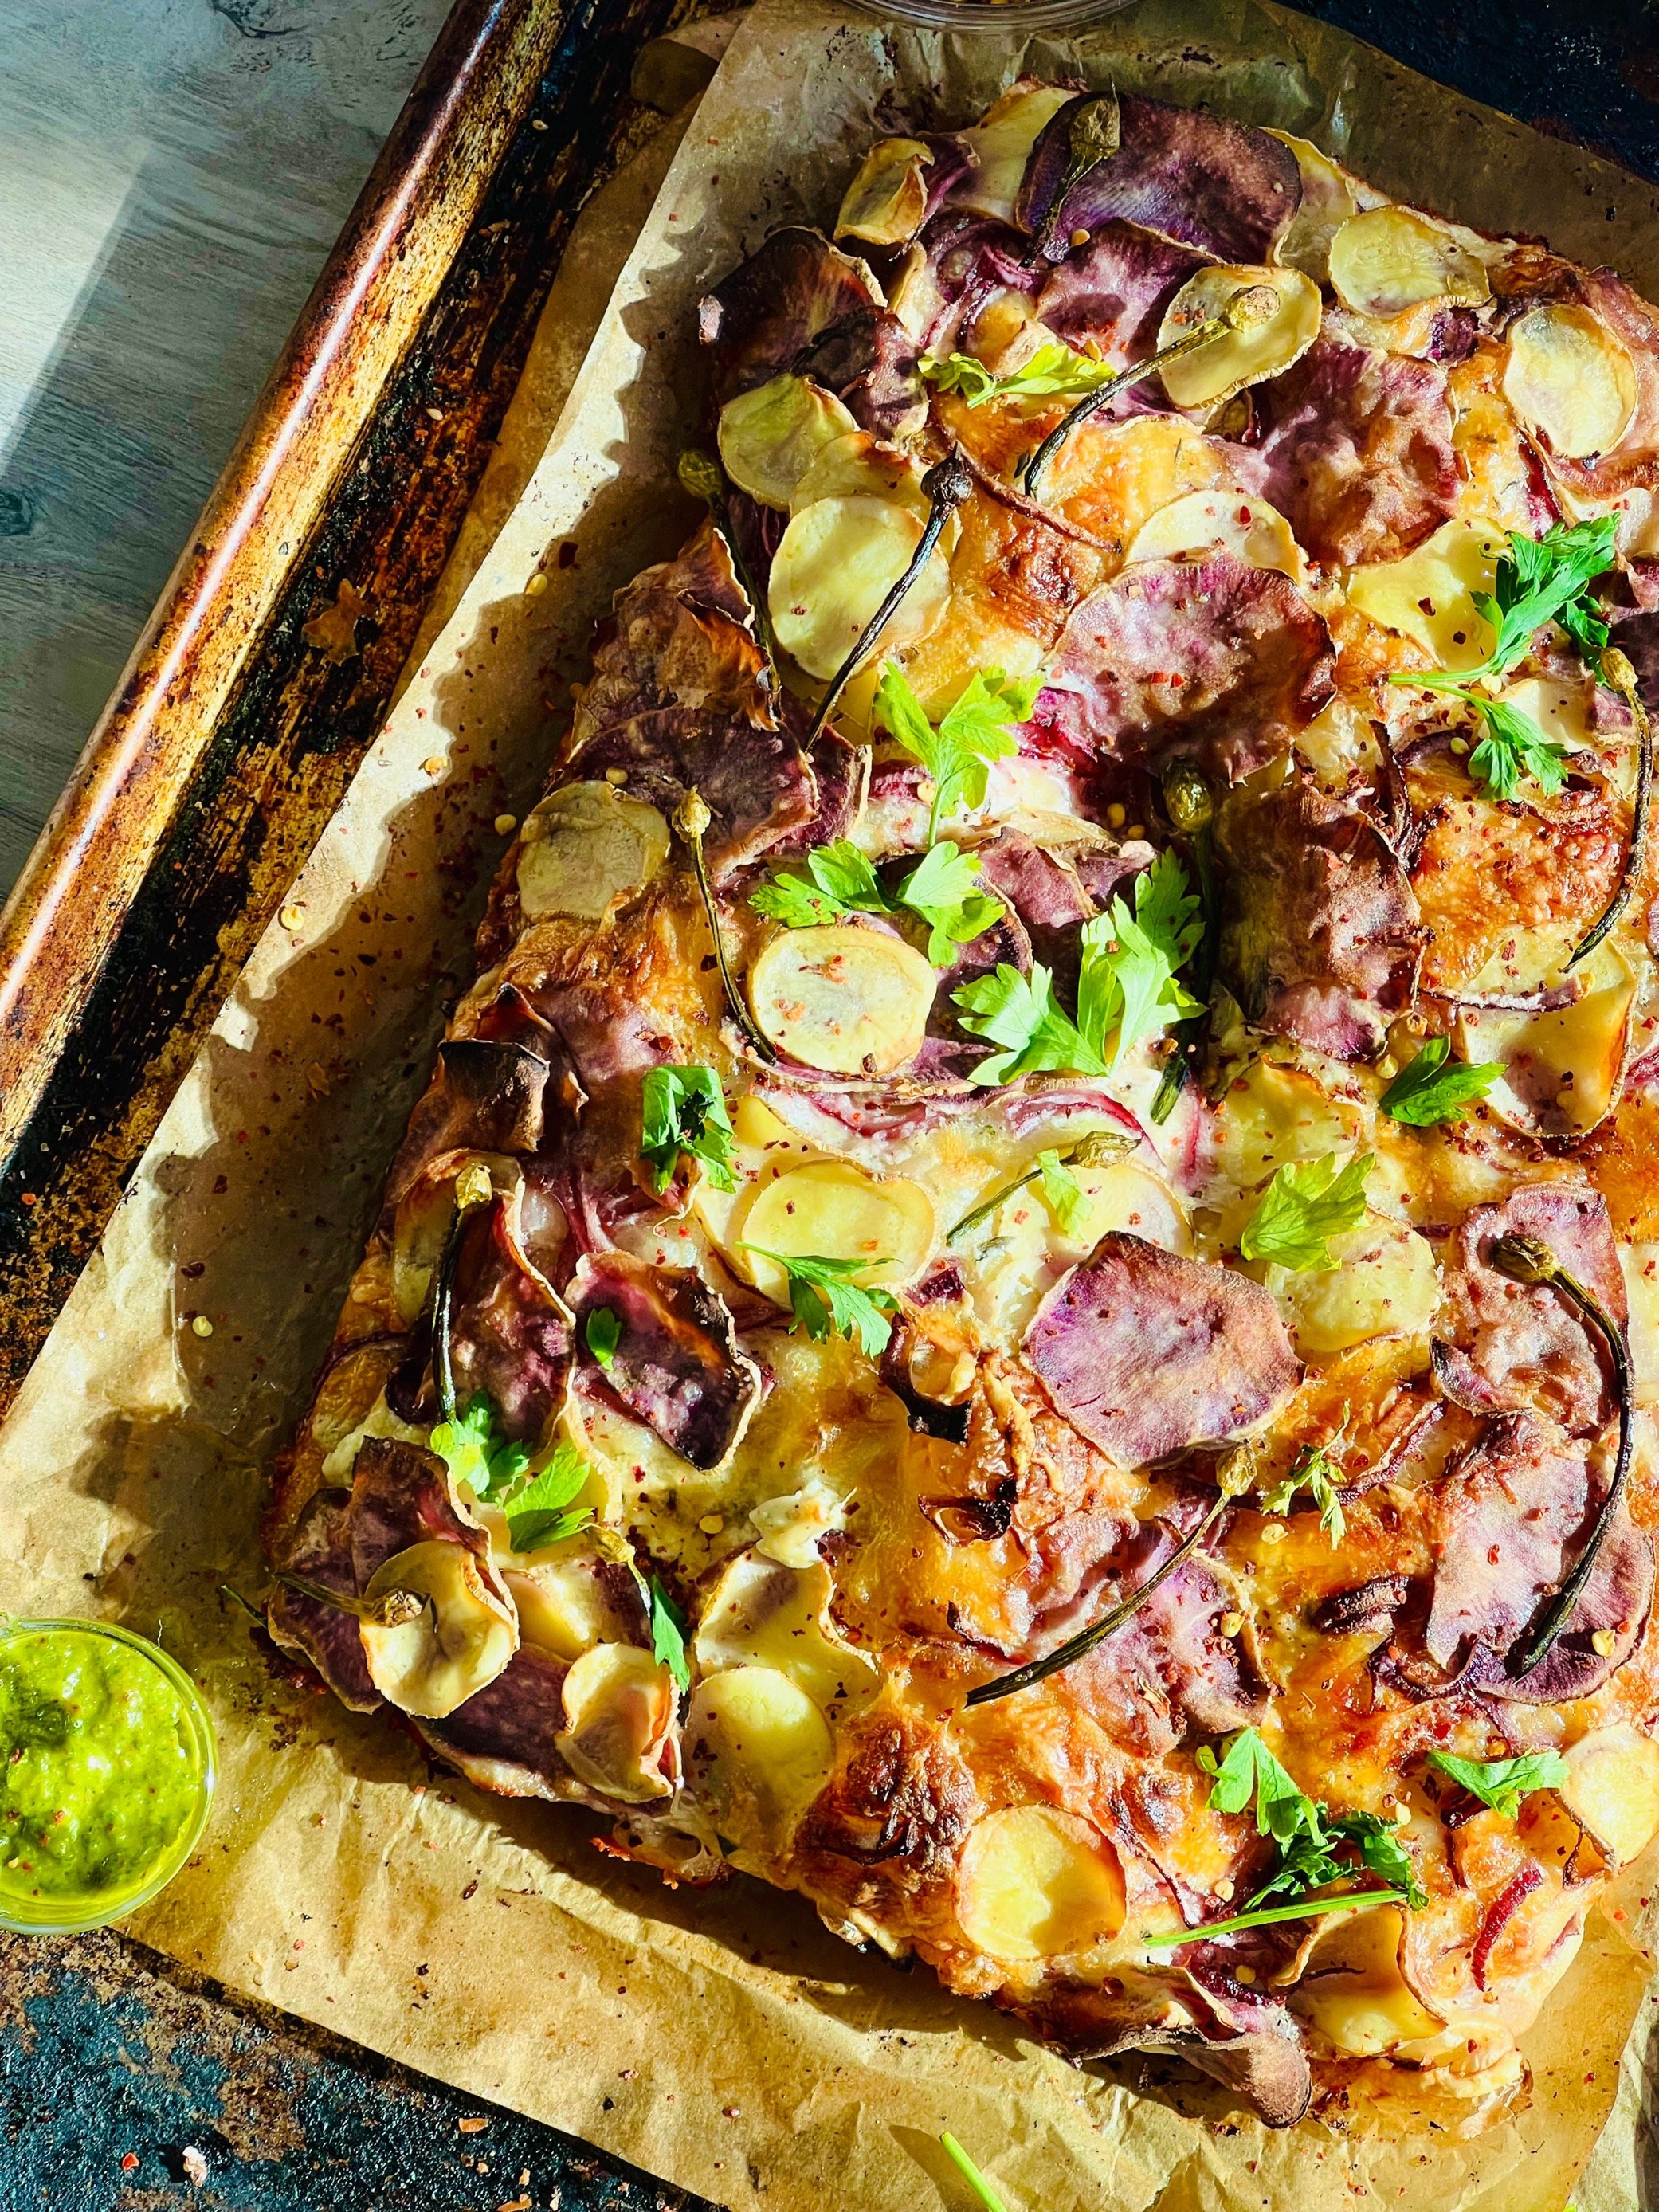
Two Potato and Onion Bechamel Focaccia With Chimichurri

Focaccia is hands down the ideal beginner bread using yeast as it requires the minimum tools, skills and ingredients. Even then, at the end of the day its bread, therefore temperamental. Type of flour, humidity, room temperature, altitude, etc. differs in every kitchen -leading to varied results and sometimes unsuccessful! So, like any avid breadmaker I have been on a journey to find a “NO FAIL” Focaccia and drumroll for my version that will be perfect as long as the yeast used is alive and you follow the instructions to the T.

After playing around with several recipes online here I have my very own take that uselessly I have felt quite territorial about. The topping and sauce are obviously flexible but I will admit that this combo of crisp sweet potato and potato with onion and a cheat’s bechamel is simply out of the world. The chimichurri sauce is an evolved version of the one I picked up from a cooking workshop led by the chefs of BOKA restaurant in Chicago. Its our staple that we use on salads, roast veggies, sandwiches but nothing beats dunking this focaccia into that earthy zingy goodness! I have made this a zillion times including the vegan versions. Please be patient with all the ingredients and instructions and read the recipe thoroughly before starting. You will be rewarded at the end!

*If you would like to see a demo of before and after bake then tap here. Also, I have made several same day focaccia recipes and strongly prefer the results from a longer cold proving. Long story short, you can totally start this one in the morning and have it ready for dinner and it will taste just fine, not the best!


Ingredients (one 13” x 9” loaf)
Dough

500g Bread Flour (substitute with any strong flour with at least 10-11% protein). I use King Arthur Brand that’s readily available in the US however any high protein flour will work
420g Lukewarm Water
6g Granulated Sugar
14g Olive Oil (3 tbsp or more for finishing)
8g Instant Yeast (I exclusively use either Fleischmann or Red Star brands)
11g Sea Salt (I prefer Trader Joe’s brand but have been successful with 9g of Morton Sea Salt)

Topping
1 Medium (or 2 small) Yukon Gold Potato, as thinly as possible sliced (I prefer using a Mandoline however a sharp knife will work just fine)
1/2 Purple Sweet Potato, thinly sliced (substitute with regular sweet potato)
90g Cream Cheese (For the Vegan version I use the Trader Joe’s brand and for regular it’s either Philadelphia or Trader Joe’s)
1 heaping tbsp of Greek Yoghurt (Use any Plant Based Yoghurt of your choice)
8-10 Chive Blossoms, tips separated, and rest finely chopped (substitute scallions or regular chives)
1 tbsp Chopped Thyme
1 tsp Ground White Pepper (substitute with Black Pepper)
100g Shredded Gruyère Cheese (substitute with any Melty vegan Cheese of your choice)
1/2 Large Red Onion, thinly sliced

Chimichurri Sauce
1 large Garlic Clove or 2 small, smashed
4 Scallions, roughly chopped
15g Cilantro including stems (substitute with equal weight of Parsley leaves, not stem)
15g Chives
1.5 tbsp Light Soy Sauce or Tamari or Coco Aminos
1/2 Green Chile Pepper (optional)
3 tbsp White Wine or Champagne Vinegar (substitute with Apple Cider vinegar)
2 tbsp Orange Juice
1 tbsp Orange Zest
1/2 tbsp Maple Syrup
50-55ml Olive Oil (top quality preferable)


Directions
💥 Combine and mix flour and salt in a large bowl. In a large measuring jug or another container with spout, combine and mix rest of the dough ingredients. Once the yeast mixture look foamy (activated), pour it into the flour-salt mixture. Using a spatula, mix it really well so that the entirety of flour is hydrated (DRY FLOURY SPOTS is unacceptable!). With over 80% hydration, it may look loose or soupy but don’t worry just let it rest for 10-15 mins

💥 Now we will perform the “stretch and fold” action (that helps in building strength and structure of the bread) - with very wet hands, pull a handful of dough from 12 o’ clock position all the way up and fold over the bulk of dough to 6 o’ clock position. Repeat this action on all sides (3 o’clock and 9 o’clock) or until you are satisfied with the amount of tension you have built or until it roughly tightened up into a ball. Let it rest for another 10-15 mins and then repeat the “stretch and fold “ action one more time. After 30 mins and two rounds of tension building exercise, transfer into a large Tupperware. Form into a ball with smooth top (essential to trap the air bubbles inside) and seam side down, cover and put it in the fridge for 12-48 hrs

💥 Whenever ready to bake, prepare a 13” x 9” baking tray (preferably a jelly roll pan) by greasing with 1 tbsp oil then lining with a parchment (so that we avoid sticking to the pan situation). Add 2 tbsp Olive Oil on to the parchment and brush it thoroughly so that it’s well-greased. Now tipple the risen dough into the lined baking sheet

💥 Oil your hands well and fold one side of the dough to the middle and repeat with other side (think folding a paper into thirds). Now pinch the ends that meet in the middle and flip so that seam side is down and smooth side is up. Cover with an inverted tray (don’t use tea towel or plastic wrap as it will stick and alter the crumb structure while getting it off) or put in a large plastic bag to tie like a balloon and let it rise until it fills the pan completely (may take upto 3 hrs.). If not filling the tray completely then with oiled hands you can stretch the edges (from the bottom) gently towards the pan edges. During this time dunk potato and sweet potato slices into salted boiling water, let them soften for 8-9 mins. Drain and using paper towel pat dry the slices as much as possible. This helps in removing excess starch and getting crisp results

💥 Once well risen and filling the pan, the dough should look shiny, smooth and jiggle when the tray is shaken. Whisk cream cheese, yoghurt, chives (excluding the tips), thyme and pepper into a paste and chill in the fridge until needed. Now pre-heat oven to 435F or 220C

💥 Plop spoonfuls of the cream cheese mixture all over the dough and very gently massage it to cover the surface area as much as possible. With oiled fingers, now press the dough gently touching bottom of the tray to make dimples. Do this action a couple times (DO NOT GET CARRIED AWAY as too much dimpling will lead to structural collapse). Scatter shredded cheese & sliced onions all over; followed by potato and sweet potato slices. Finish with tips of chive blossoms and a drizzle of olive oil. Bake for 29-31 tsamins in the lowest rack or until it looks very golden (if you have a thermometer then stick it in the middle and if it reads at least 190F or 88C  then it’s done). Transfer the focaccia out of parchment on to a cooling rack or any perforated tray (helps to keep the bottom crisp instead of soggy).

💥 While the bread is in the oven or just before ready to serve, in a food processor - blitz all chimichurri ingredients into a glistening sauce like consistency. Cut the Focaccia into equal bite size squares and serve with chimichurri sauce, Enjoy! It’s truly my most favorite :)

Strawberry Labneh Yin-Yang

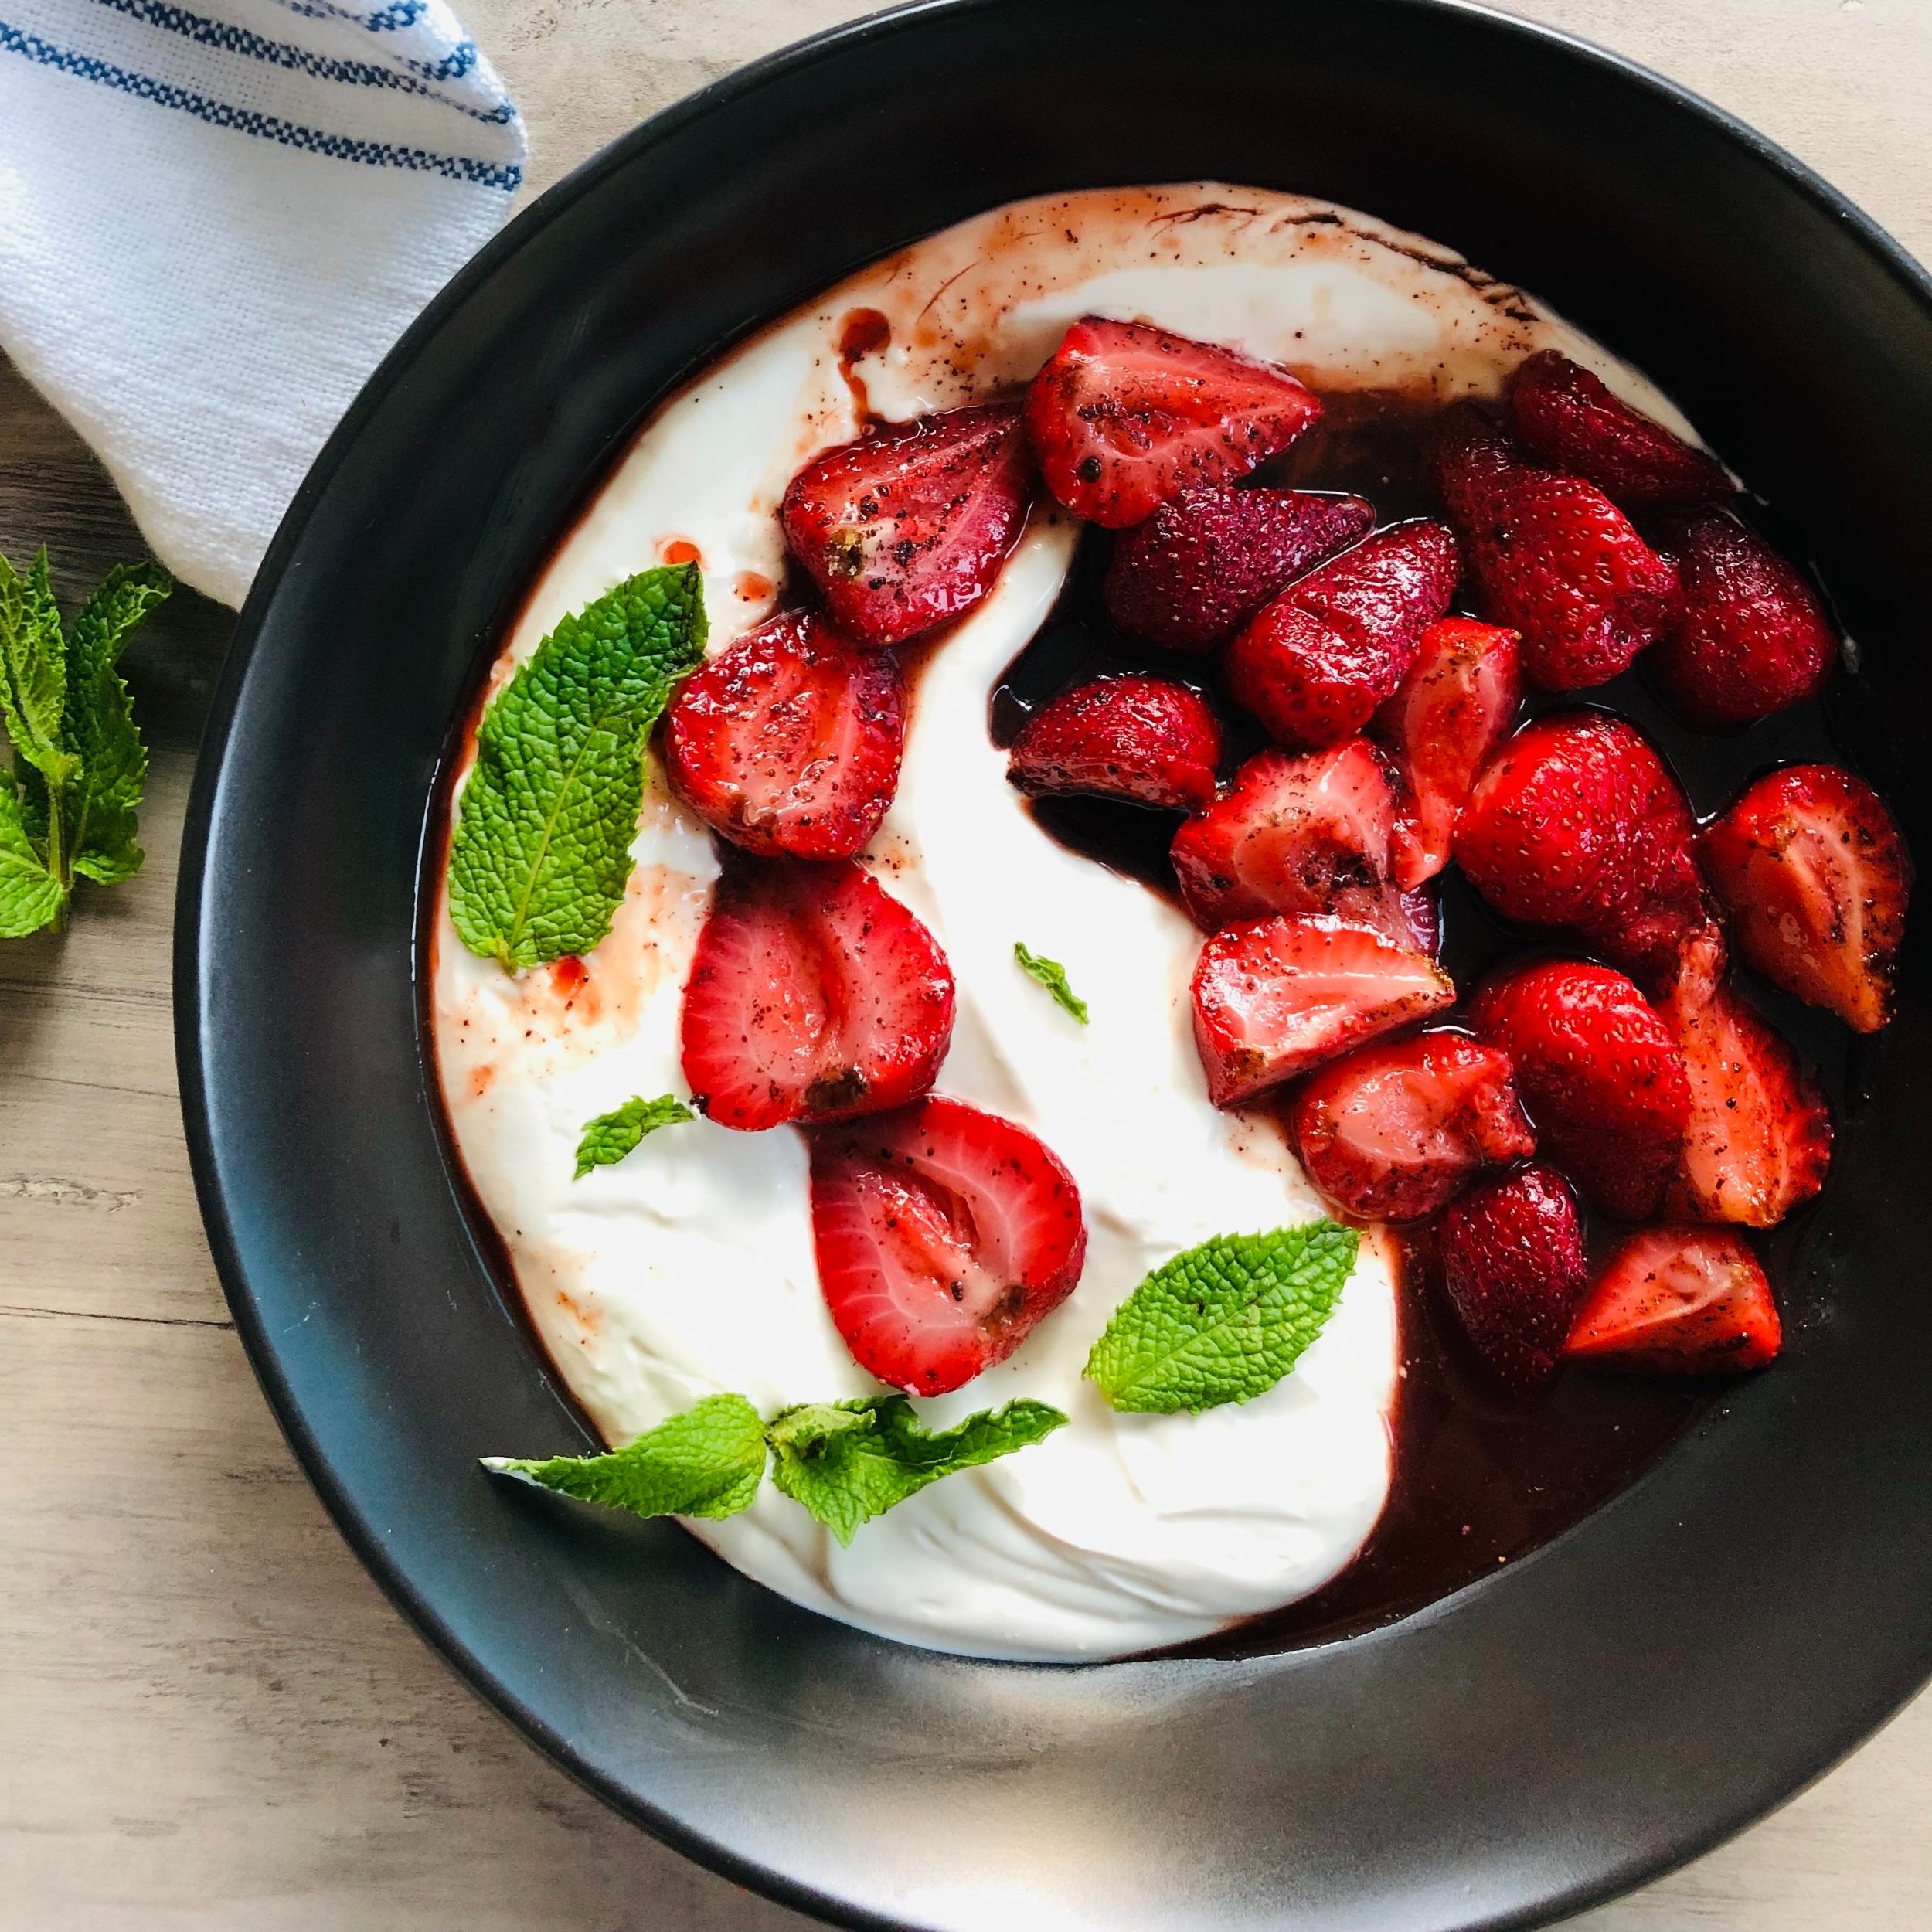
Its the contrasting texture and temperature that got me naming this Yin and Yang - slightly warm and jammy tart berries with chilled thick labneh. Strawberries are tossed with Anardana (ground dried pomegranate seeds, typically found in South Asian specialty store), sugar and fresh Orange Juice (fruit juice helps in cutting down the added sugar) then roasted for a short while. Once cooled it’s mixed with Grand Marnier (use vanilla extract or orange juice to keep it alcohol free), then served alongside chilled sweetened labneh that’s scented with vanilla & citrus zest. Finished with a good dose of fresh mint. It’s a play of tart on tart flavors - I strongly feel that it works just like eating tea Madeleines with tea.

Ingredients (serves 4)

Roasted Berries

1 lb Strawberries, tops removed, hulled & halved

2 tbsp Coconut Sugar or Dark/Light Brown Sugar

1 tbsp Granulated Sugar

1-1.5 tbsp Anardana - substitute with Sumac or 1/2 tbsp pomegranate molasses

50 ml Orange Juice , reserve the zest

2 tsp Grand Marnier (substitute with Triple Sec)

Scented Labneh

275g Labneh (strained Greek Yoghurt) or you can use Icelandic Skyr (to keep it vegan feel free to use your go to Vegan Greek yogurt)

2 tsp Vanilla Bean Paste or extract (make sure to use a good quality pure extract)

2 tsp Orange Zest (Reserved from the juiced orange used in the roasted strawberries)

1 tbsp Granulated Sugar

Garnish

3-4 sprigs of Mint, torn or roughly chopped

Directions

🍓Pre-heat oven to 400F, combine all ingredients for roasted berries except Grand Marnier in a high-sided baking dish. Give it a good mix and bake for 16-17 mins. Keep it aside to cool completely

🍓 Meanwhile, whisk scented labneh ingredients until well combined. Divide and smear generous portions in one side of each serving bowls. Refrigerate until ready to serve

🍓 Once the roasted strawberries are completely cooled, add liquer and mix until well combined. Bring out the labneh bowls from fridge, spoon strawberries on opposite side of the bowl. Drizzle the berry syrup, garnish with chopped fresh mint and enjoy!

Favorite Quick Slaw

Whether to accompany burgers, wraps or just sides - I feel Slaws are underrated and quite abused by fast food chains! They can be so much more… the incredible combo of crunch with creaminess and tang needs more love. So here I have a super quick slaw idea that will not only take your everyday meal to the next level but also convince you to just eat it by itself.

Some basics about getting a slaw right - cutting into thin batons or shreds is very important; limit the vegetable/fruit element to three; restrict the allium (onion or garlic) component to one and for the dressing, make sure to taste before mixing with vegetables. Also never mix the dressing beforehand as it will make the whole thing soggy!


Ingredients (as a side for 6)

1 Small Purple Cabbage, core removed and head shredded or thinly sliced (roughly 650g) - substitute with green cabbage

1 Apple (I like Honeycrisp or Gala but feel free to use any sweet & tart variety), thinly sliced into batons

150g Peeled and Shredded Kohlrabi (feel free to substitute with Radish or Carrot)

2 Scallions, thinly sliced

15g Cilantro or Parsley, finely chopped

1 tbsp Lime Zest (substitute with Lemon or Orange)

1 tbsp any Neutral Oil

1 tsp Salt

Handful Pomegranate Seeds (optional)

Dressing

35g Kewpie Mayonnaise (substitute with Vegan Mayo)

15g Greek Yoghurt (substitute with Vegan Yoghurt)

2tsp Harissa paste (substitute with Sriracha, Cholula or your favorite Hot Sauce)

1 tsp Neutral Oil

1.5 tsp Mirin

1 tbsp Lime Juice (substitute with Lemon or Orange)

Pinch of Salt


Directions

🥣 In a small bowl, combine and whisk all dressing ingredientsuntil nice and smooth. Keep it aside until ready to serve.

🥣 In a large bowl, toss rest of the ingredients (except pomegranate seeds, if using) until well combined. Once ready to serve, transfer the dressing into the large bowl. Mix really well and adjust seasoning if needed. Top with pomegranate seeds and serve right away

Gochujang Glazed Radish

A quick & fun twist on the classic roasted root vegetables. Korean White Radish (조선무, Joseon-mu)) cubes are roasted until golden outside and tender inside. Then quickly tossed in a sweet & spicy Honey-Gochujang glaze, broiled for a sticky finish and garnished with sesame seeds & cilantro. Perfect for gluten intolerant or avoiding party guests!


Ingredients (serves 4 as Side)
1 lb Radish, cut into 16 large cubes -approximately 3 cm each (substitute with Turnips and adjust the baking time accordingly - upto 35-40 mins)
1.5 tbsp Vegetable Oil
1/2 tsp Salt
1/4 tsp Sugar

Glaze

1 tbsp Gochujang Paste (I prefer the hot variety from Haechandle Brand)
1.5 tbsp Tamari (substitute with Coco Aminos to keep it Soy free)
1 small garlic clove, grated
1 tbsp Mirin
1/2 tsp Honey (sub Maple Syrup to keep it vegan)
1 tsp Rice Wine Vinegar
2 tsp water

Garnish
1.5 tsp roasted sesame seeds
1 tbsp chopped cilantro (substitute with chives)

Directions
💥Pre-heat oven to 400F. In a high sided baking pan combine first 4 ingredients. Give it a good mix, tightly cover with aluminum foil & bake for 20-22 mins . Then increase oven temp to 425F, uncover & bake for additional 17 mins or until light golden in color & fork-tender in texture

💥Meanwhile combine all glaze ingredients & microwave for 20 seconds. Pour this on the baked Radish. Give a good mix so that every Radish piece is well coated. Broil (put it under the Grill) on high setting for 4-5 mins

💥Garnish with toasted sesame seeds & cilantro. Serve at room temperature


Persimmons with Whipped Ricotta, Rose-Lemon Maple

A side effect of my endeavor to come up with wacky flavor combos is - we eat the same dish everyday until I get the fine balance between bold flavors right! So after eating this one for seven days straight …. here I’m with my latest obsession - “Rose-Lemon Maple” drizzled on fresh Persimmon wedges nestled in creamy aromatic whipped ricotta laced with dried Mint and lemon zest….mmmm then the finishing touch of a heady exotic oil - Urfa Biber, fresh herbs, rose petals & sesame seeds. The key to this dish is simplicity and delicate balance of bold flavors - it’s quite magical indeed!


INGREDIENTS (serves 2 as side)

2 Ripe Fuyu Persimmons, peeled & each cut into 8 wedges

Whipped Ricotta

100g Whole Milk Ricotta (substitute with Vegan Ricotta)

50g Plain Whole Milk Greek Yoghurt (substitute with your go to vegan yogurt)

3/4 tbsp Extra Virgin Olive Oil (top quality)

1/2 tsp Maple Syrup

1 tbsp Lemon Zest (if you can get your hands on Meyer Lemon then it will be quite special)

1 tsp dried Mint

1/4 tsp fine sea salt

Rose Lemon Drizzle

25ml Lemon Juice (again Meyer Lemon preferable)

45ml Maple Syrup

1 tbsp water

1/2 tsp Rose Water

Mint Urfa Oil

4g Fresh Mint Leaves, finely chopped

2g Sweet Basil Leaves, finely chopped

1/2 tsp Urfa Biber

3/4 tsp Roasted Sesame Seeds

1/2 tsp crushed dried rose petals

1 tbsp good quality Extra Virgin Olive Oil

Pinch of salt

Garnish

1-2 tsp Roasted Sesame Seeds

1 tbsp Dried Rose Petals


Directions

💥Combine all Mint Urfa Oil ingredients & keep it aside

💥Combine all whipped ricotta ingredients and whisk well until smooth & luscious (about 12 mins by hand; 5 mins by electric whisk) & keep it aside

💥In a saucepan combine lemon juice, water & maple syrup. Cook on high heat stirring constantly, turn off heat as soon as it starts to bubble (~ 4 mins). It should be like runny syrup consistency. Let it cool for 2 mins then stir in rose water & keep it aside

💥To plate - divide and dollop the whipped ricotta into two lipped plates . Make a dip in the middle, arrange persimmon wedges, spoon mint oil & generously drizzle the rose lemon syrup. Enjoy!