Favorites, meals, recent Divyasha Ray 11/26/24 Favorites, meals, recent Divyasha Ray 11/26/24 Kimchi Hotdog Strata with Chives Sesame Salsa Read More basics, Favorites, Seasonal, sides Divyasha Ray 5/18/23 basics, Favorites, Seasonal, sides Divyasha Ray 5/18/23 Not Your Average Bruschetta Read More meals, recent, vegan, special diet Divyasha Ray 2/7/23 meals, recent, vegan, special diet Divyasha Ray 2/7/23 Smoky Cauliflower Pepper Wraps Read More meals, recent Divyasha Ray 1/27/23 meals, recent Divyasha Ray 1/27/23 Winter Ratatouille Read More meals, recent Divyasha Ray 12/28/22 meals, recent Divyasha Ray 12/28/22 Baharat Mushroom and Swiss Chard Hand Pies with Green Sauce Read More basics, sides, Seasonal Divyasha Ray 12/28/22 basics, sides, Seasonal Divyasha Ray 12/28/22 Favorite Quick Slaw Read More basics, Gluten free, recent Divyasha Ray 12/20/22 basics, Gluten free, recent Divyasha Ray 12/20/22 Not So Humble Lentil Soup Read More Desserts, Gluten free Divyasha Ray 12/8/22 Desserts, Gluten free Divyasha Ray 12/8/22 Dark Chocolate, Chestnut and Whiskey Torte Read More Desserts, recent Divyasha Ray 11/16/22 Desserts, recent Divyasha Ray 11/16/22 Miso Pumpkin Mini Cakes with Kahlúa Tahini Sauce Read More special diet, recent Divyasha Ray 11/14/22 special diet, recent Divyasha Ray 11/14/22 Blistered Green Beans with Garlicky Sesame Dressing Read More Breakfast Divyasha Ray 11/3/22 Breakfast Divyasha Ray 11/3/22 Green Shakshuka with Fried Garlic & Harissa Read More bread Divyasha Ray 10/31/22 bread Divyasha Ray 10/31/22 Pillowy Wrap Bread Read More
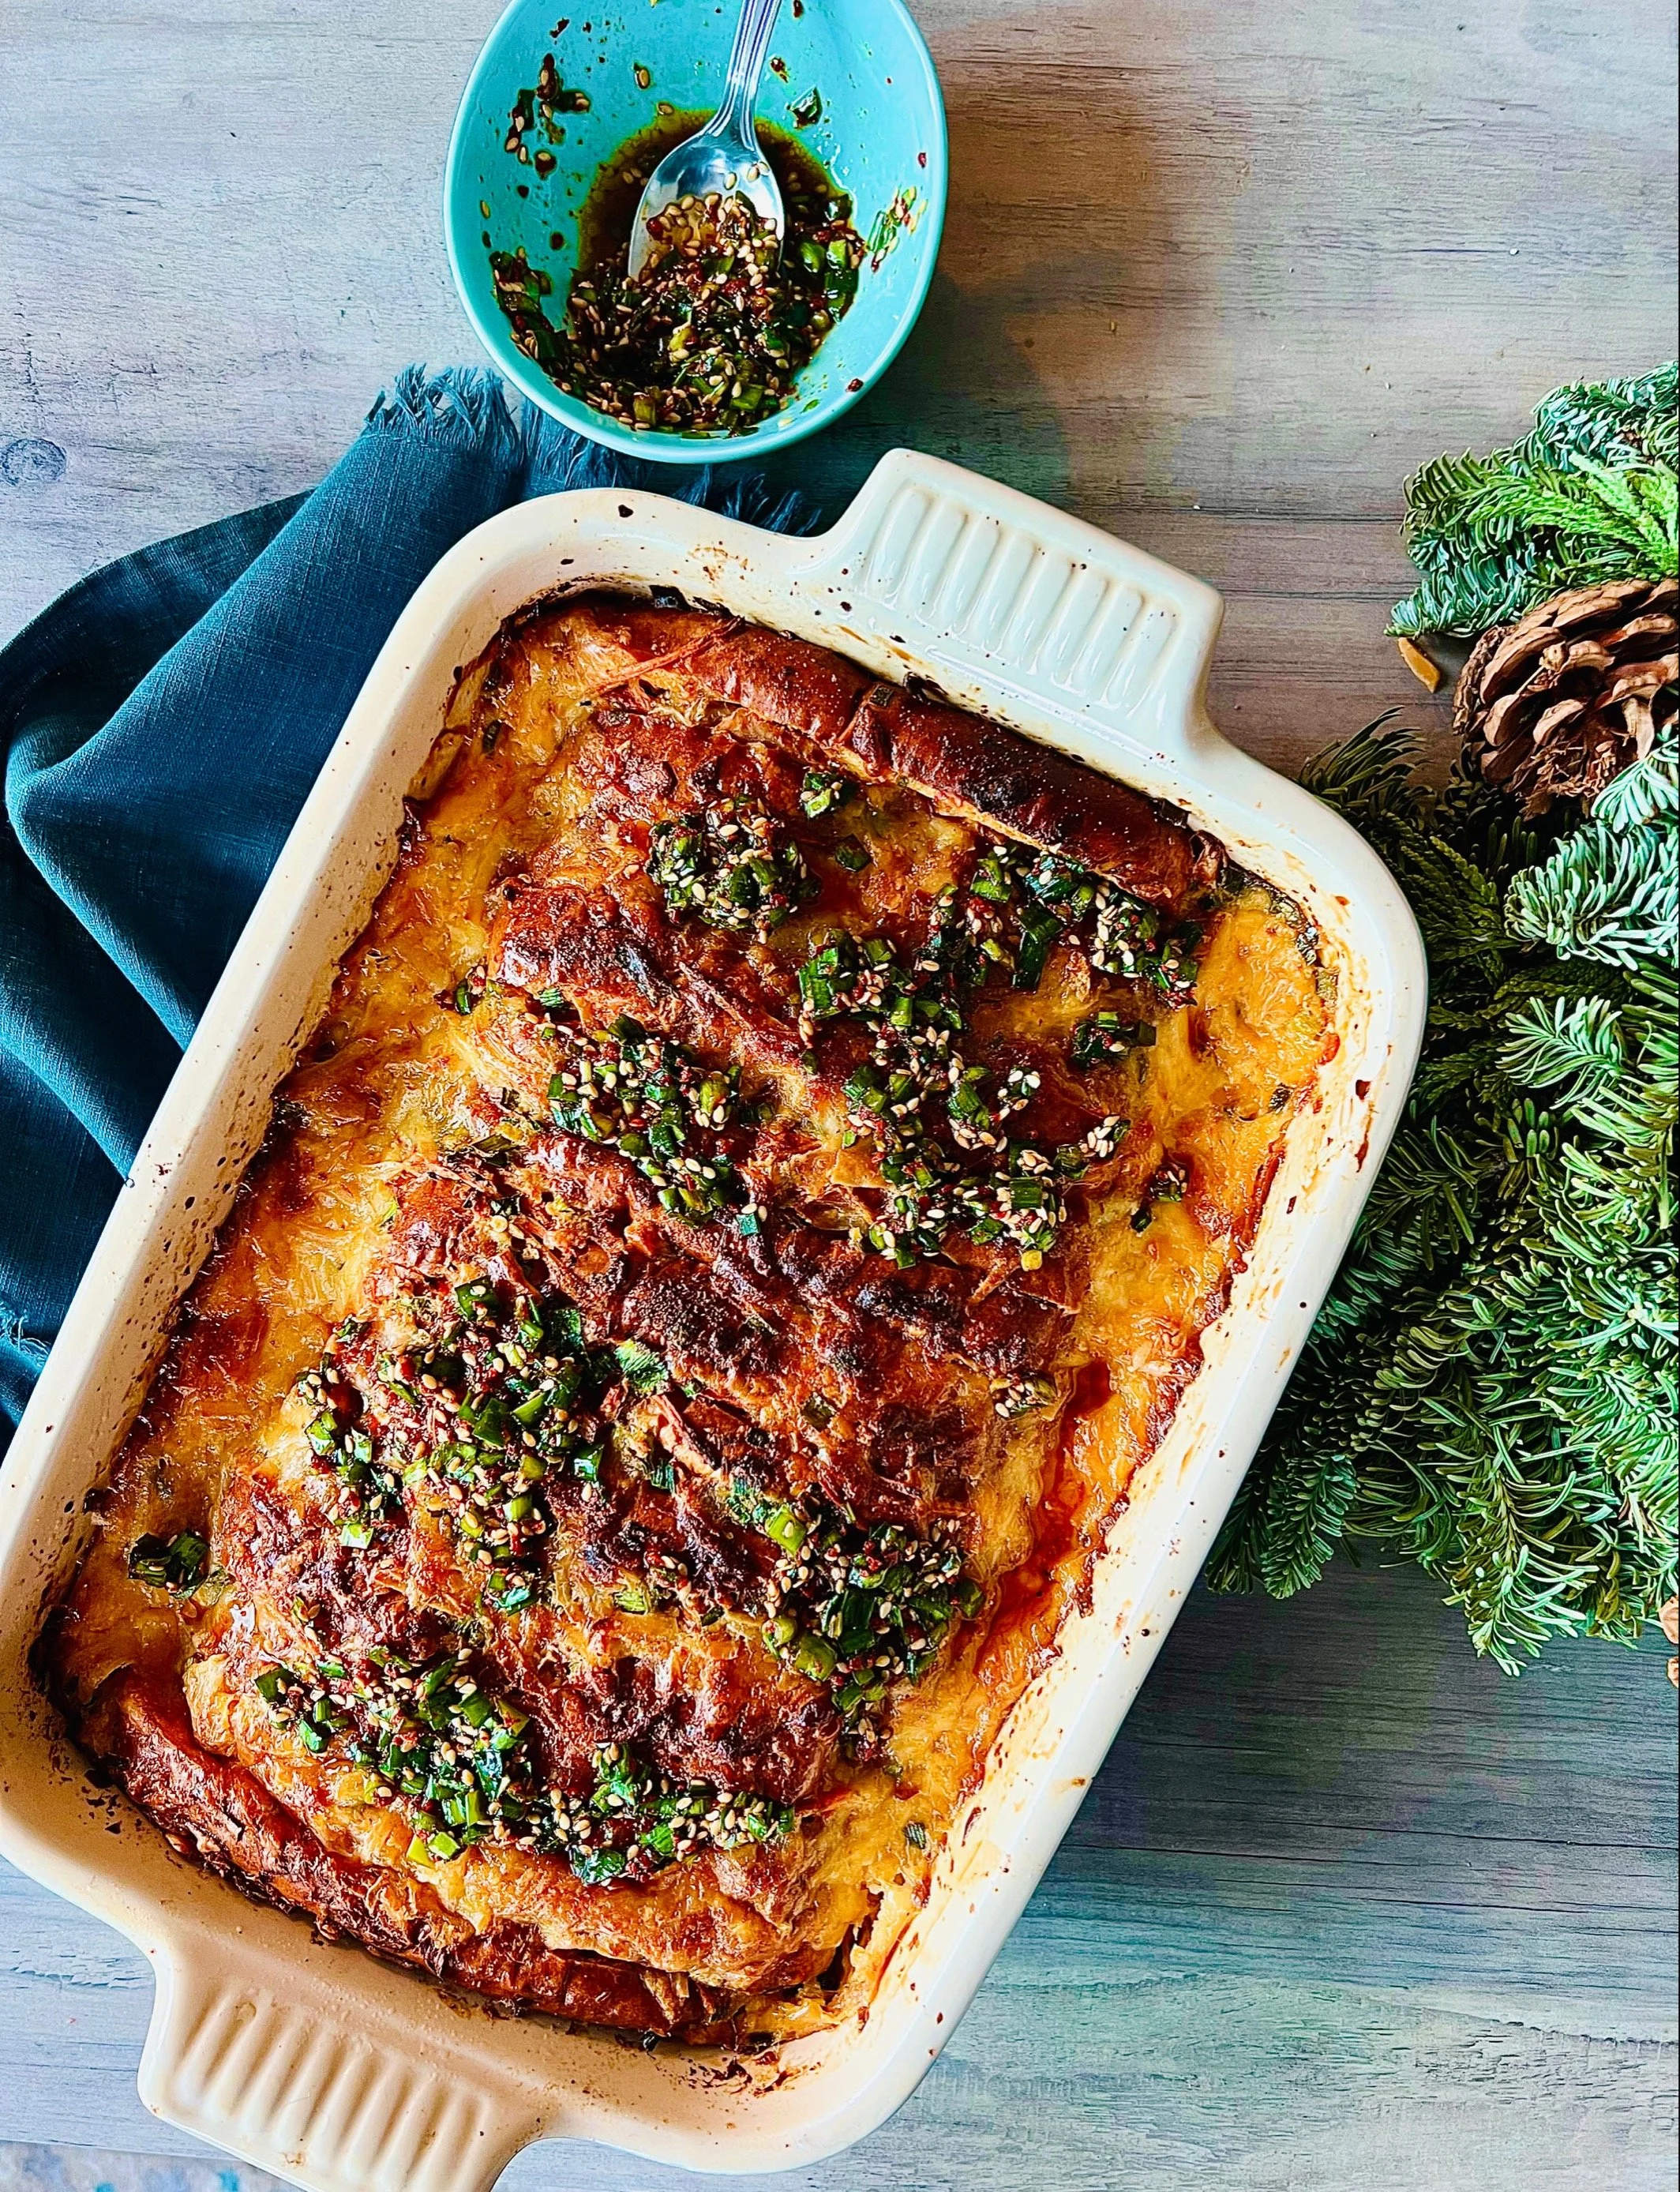
Favorites, meals, recent Divyasha Ray 11/26/24 Favorites, meals, recent Divyasha Ray 11/26/24 Kimchi Hotdog Strata with Chives Sesame Salsa Read More
basics, Favorites, Seasonal, sides Divyasha Ray 5/18/23 basics, Favorites, Seasonal, sides Divyasha Ray 5/18/23 Not Your Average Bruschetta Read More
meals, recent, vegan, special diet Divyasha Ray 2/7/23 meals, recent, vegan, special diet Divyasha Ray 2/7/23 Smoky Cauliflower Pepper Wraps Read More
meals, recent Divyasha Ray 12/28/22 meals, recent Divyasha Ray 12/28/22 Baharat Mushroom and Swiss Chard Hand Pies with Green Sauce Read More
basics, sides, Seasonal Divyasha Ray 12/28/22 basics, sides, Seasonal Divyasha Ray 12/28/22 Favorite Quick Slaw Read More
basics, Gluten free, recent Divyasha Ray 12/20/22 basics, Gluten free, recent Divyasha Ray 12/20/22 Not So Humble Lentil Soup Read More
Desserts, Gluten free Divyasha Ray 12/8/22 Desserts, Gluten free Divyasha Ray 12/8/22 Dark Chocolate, Chestnut and Whiskey Torte Read More
Desserts, recent Divyasha Ray 11/16/22 Desserts, recent Divyasha Ray 11/16/22 Miso Pumpkin Mini Cakes with Kahlúa Tahini Sauce Read More
special diet, recent Divyasha Ray 11/14/22 special diet, recent Divyasha Ray 11/14/22 Blistered Green Beans with Garlicky Sesame Dressing Read More
Breakfast Divyasha Ray 11/3/22 Breakfast Divyasha Ray 11/3/22 Green Shakshuka with Fried Garlic & Harissa Read More