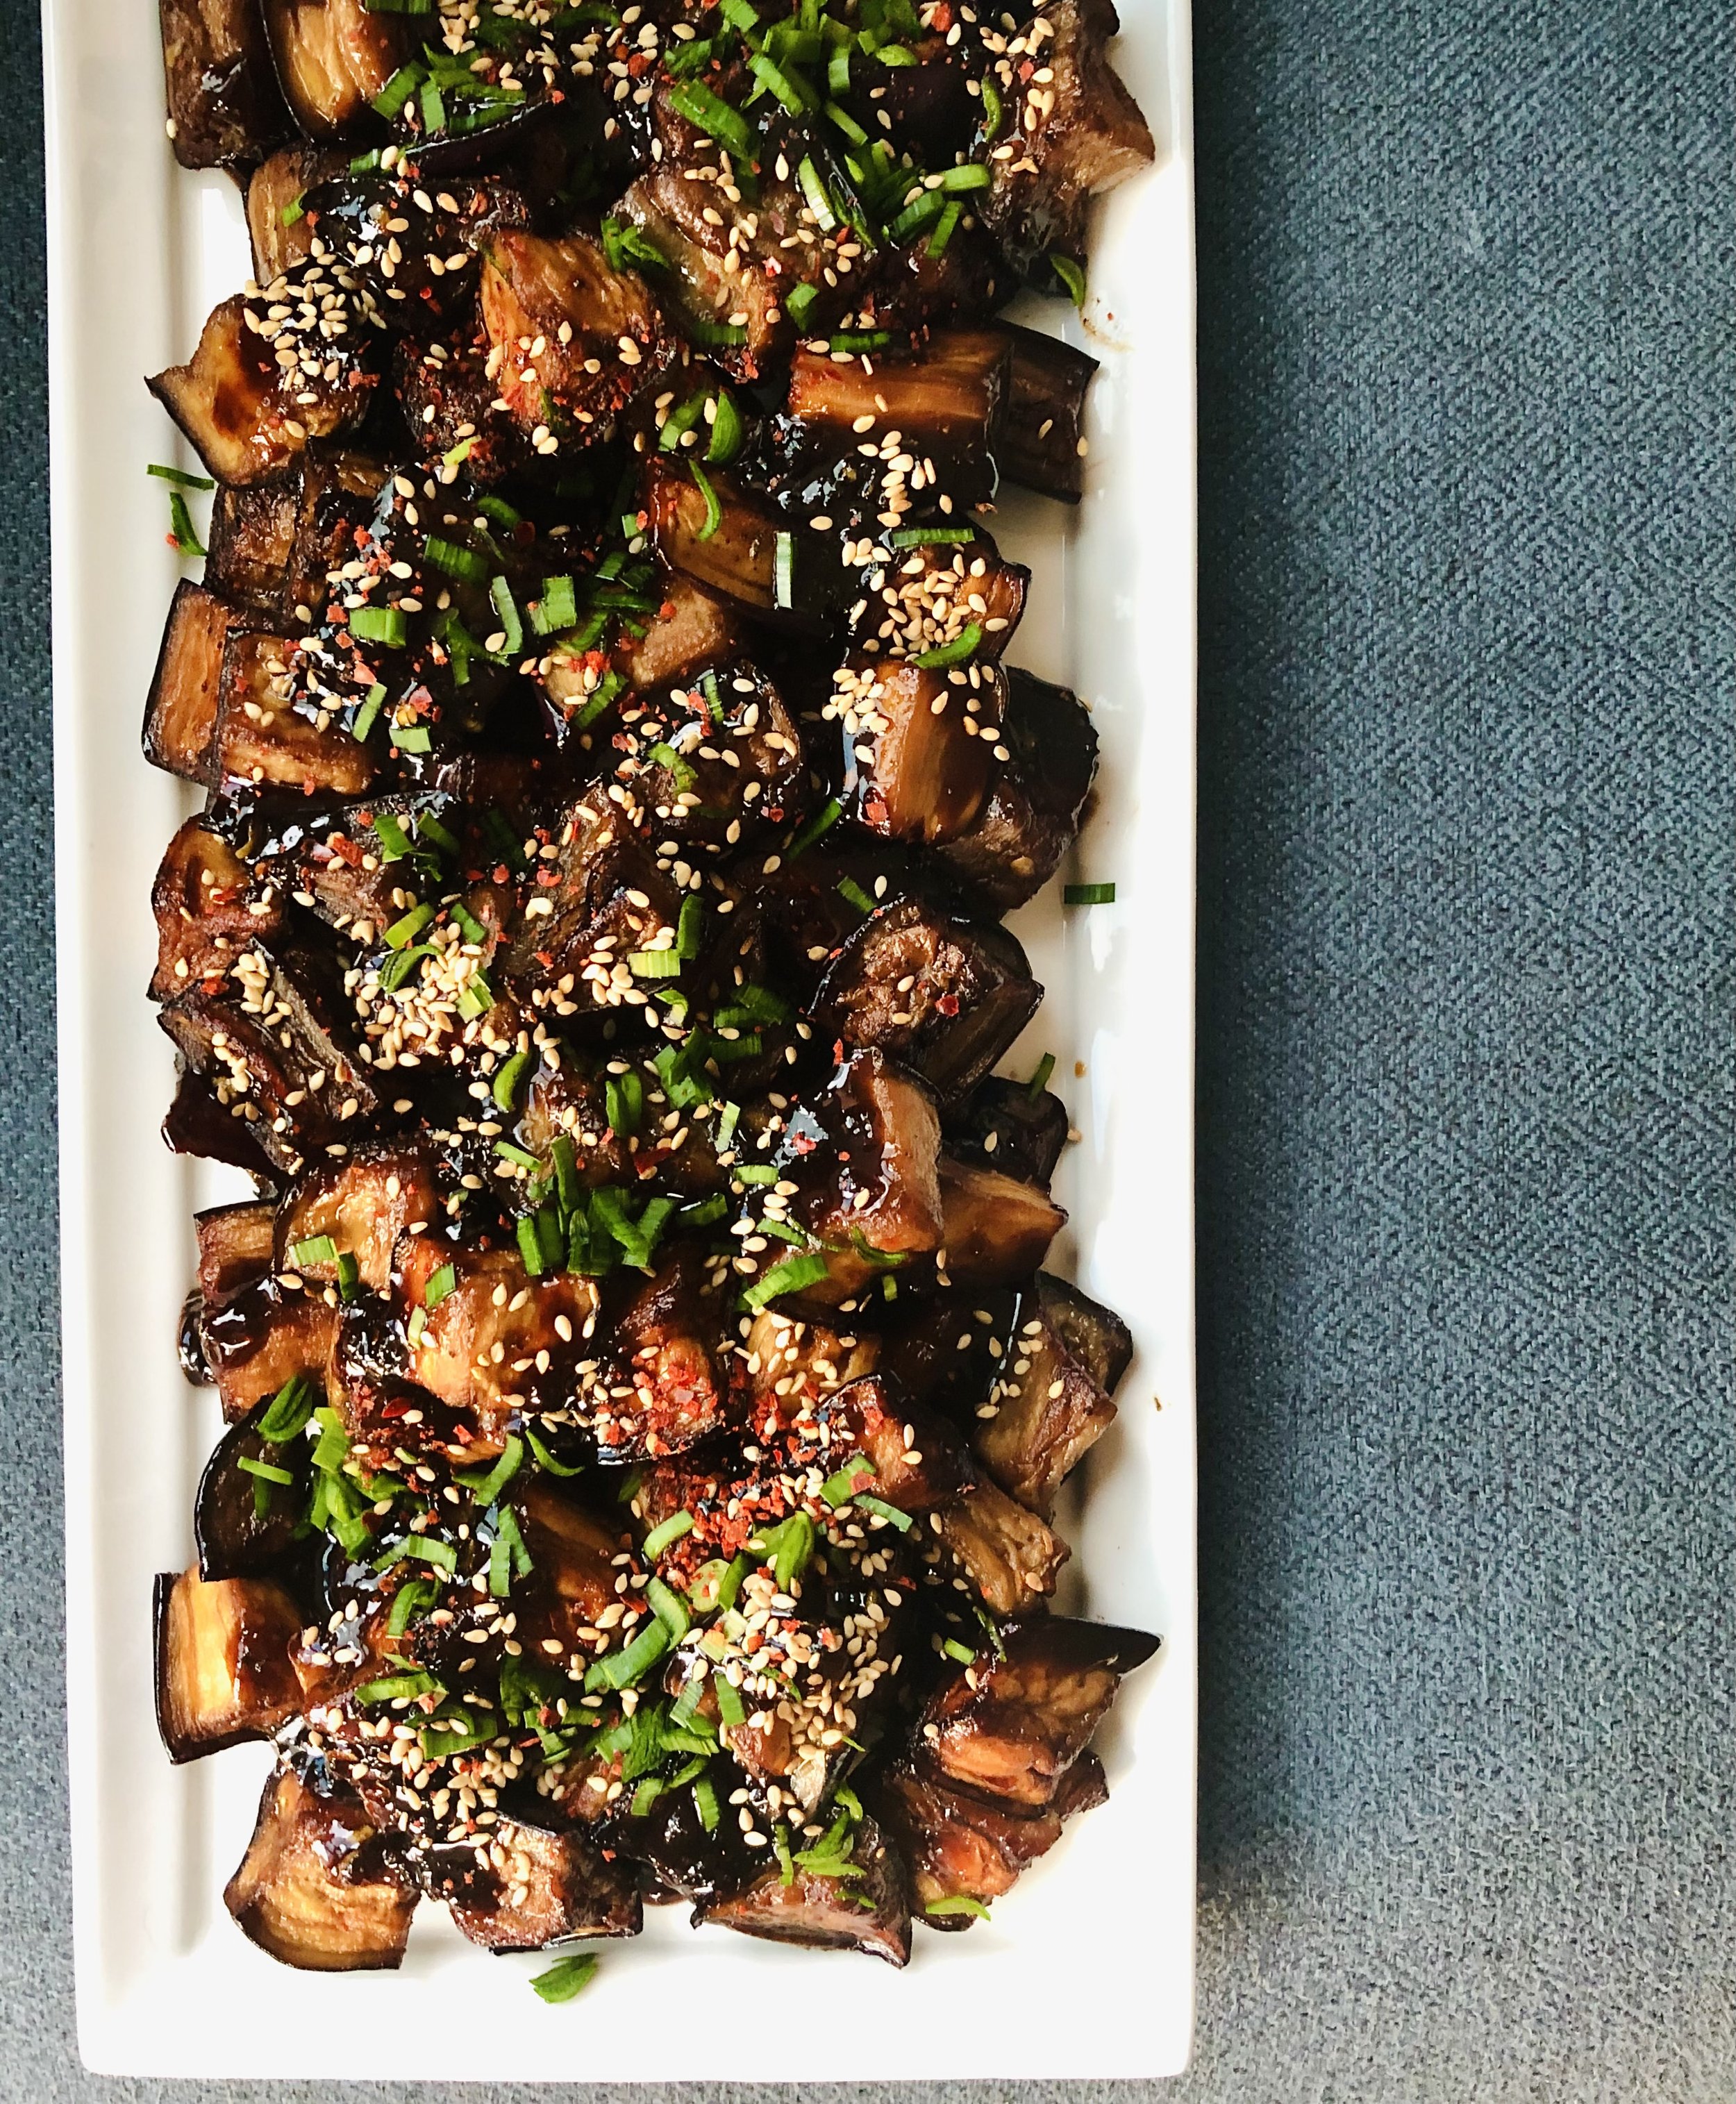
lunch/dinner,
recent,
Favorites,
asian,
special diet,
meals
Divyasha Ray
lunch/dinner,
recent,
Favorites,
asian,
special diet,
meals
Divyasha Ray
Read More
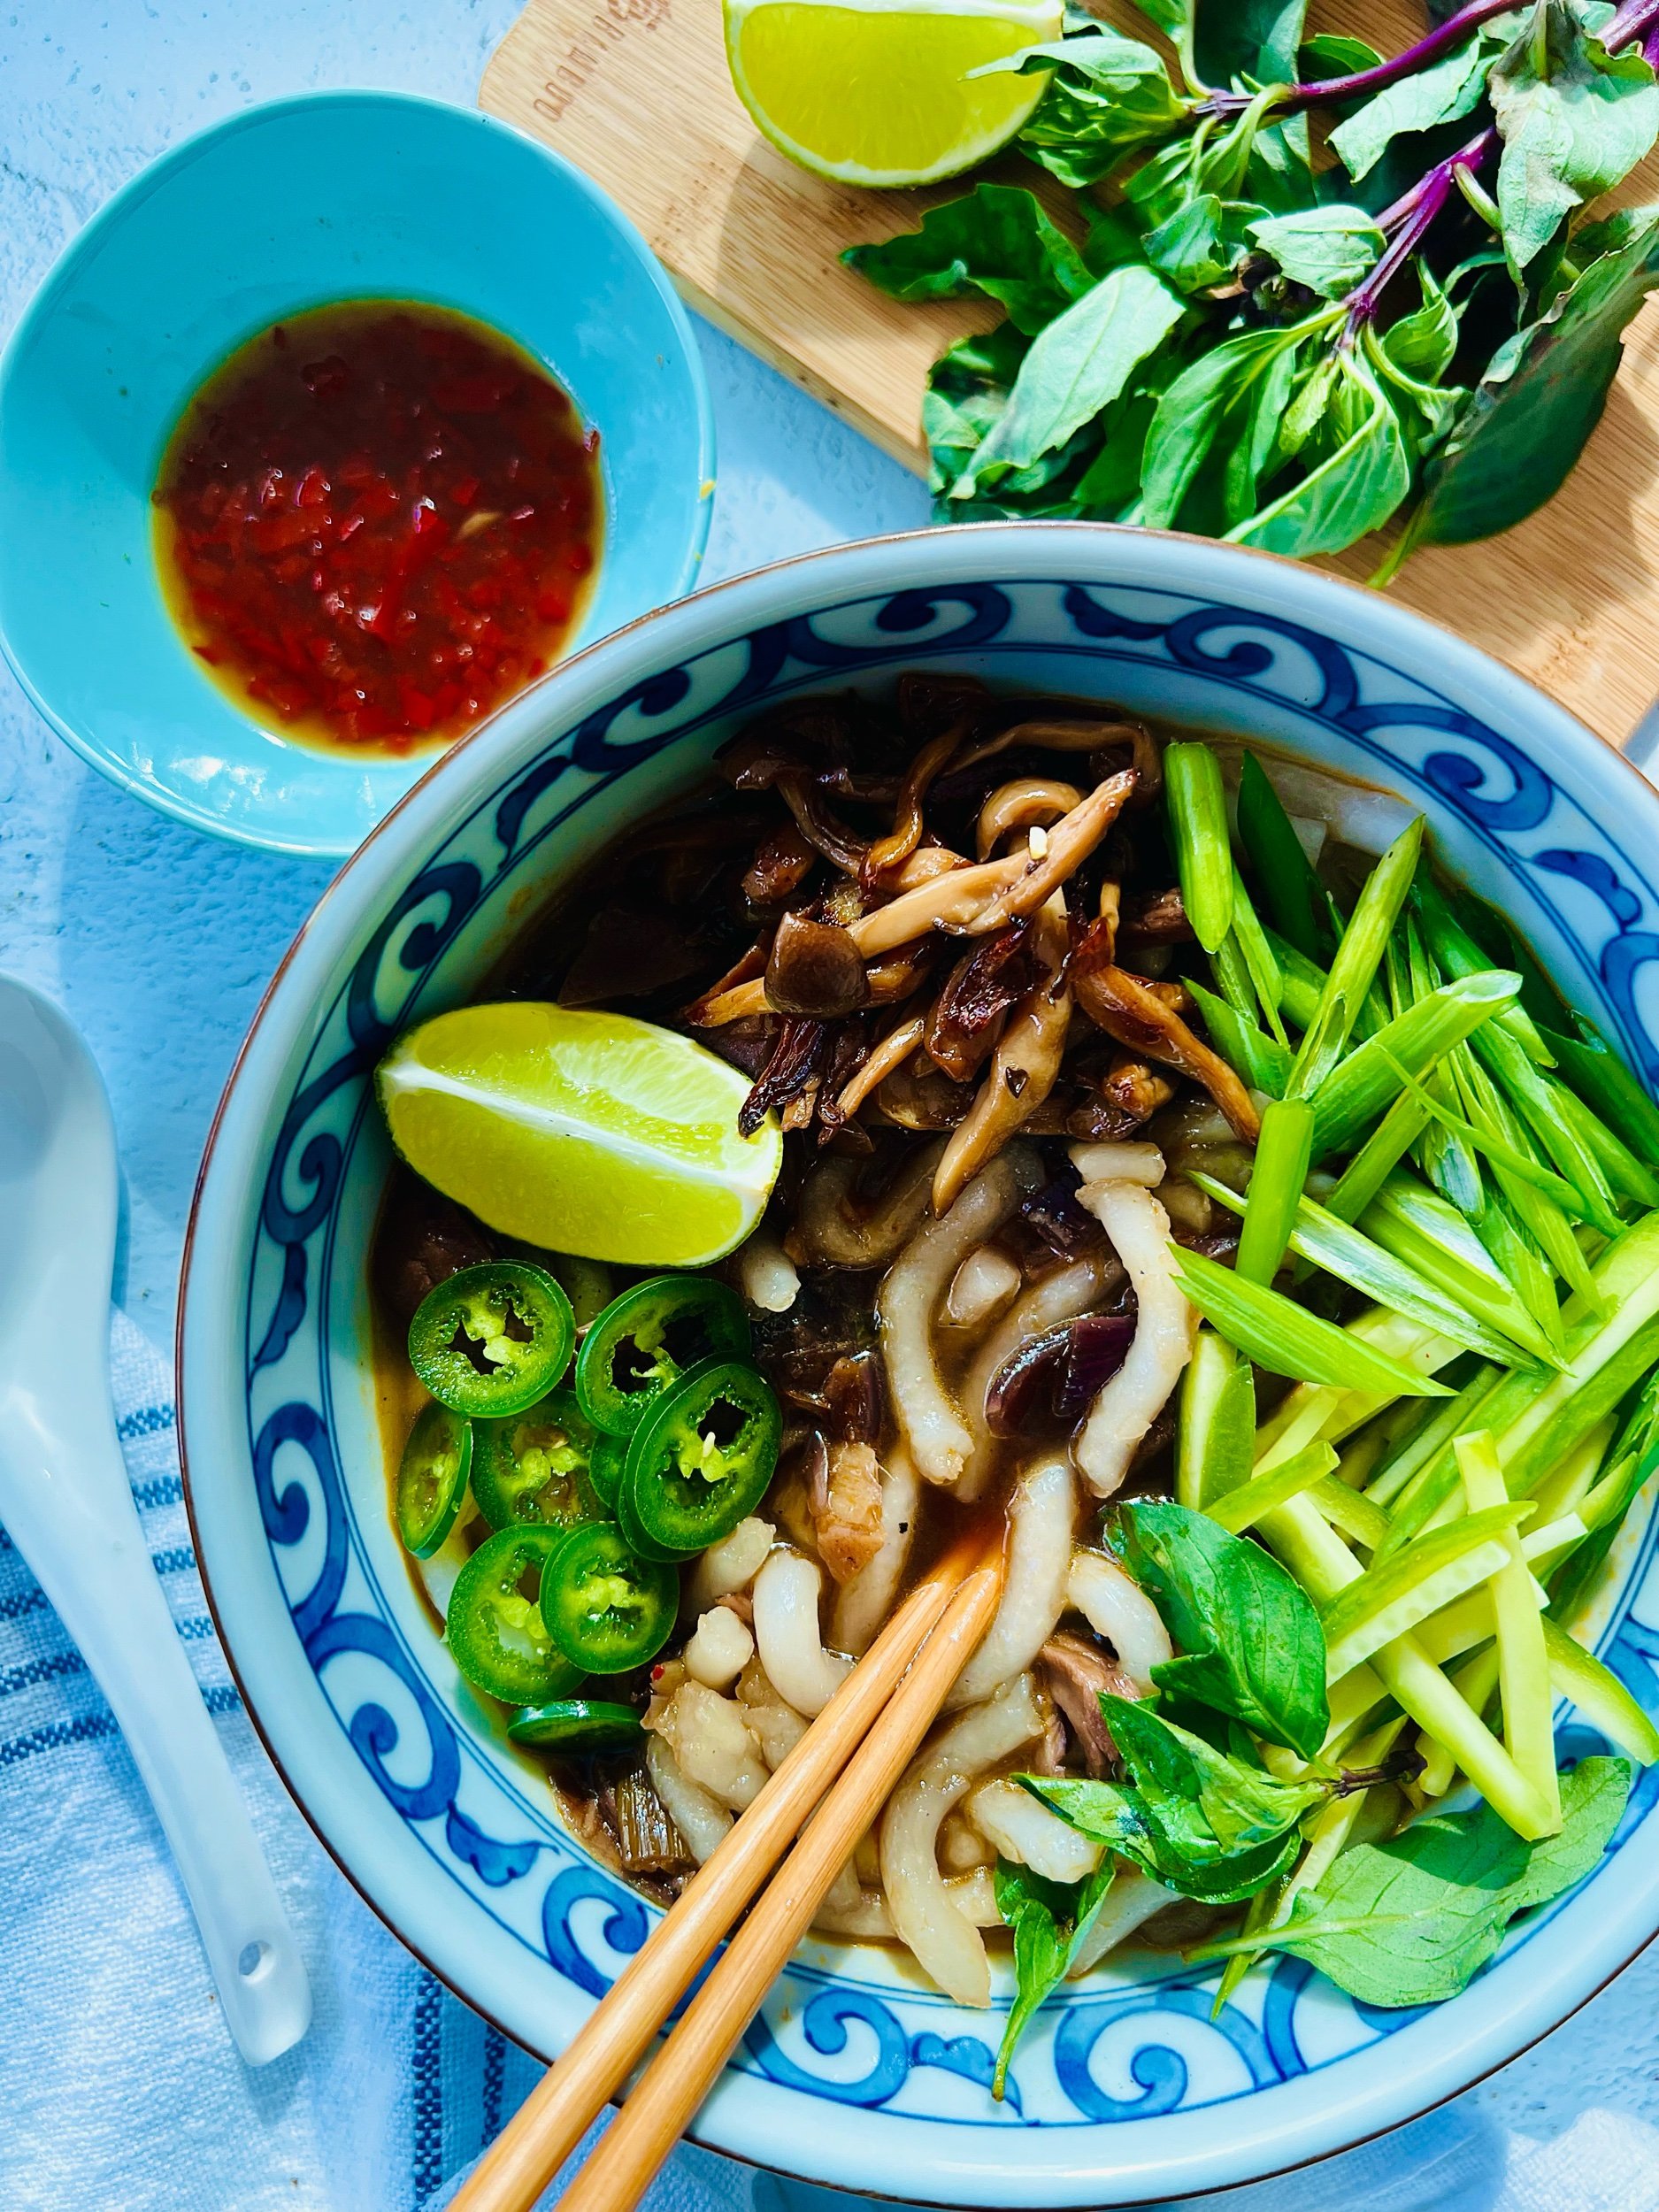
Favorites,
Gluten free,
lunch/dinner,
recent,
salads,
vegan,
special diet
Divyasha Ray
Favorites,
Gluten free,
lunch/dinner,
recent,
salads,
vegan,
special diet
Divyasha Ray
Read More