Favorites, meals, recent Divyasha Ray 11/26/24 Favorites, meals, recent Divyasha Ray 11/26/24 Kimchi Hotdog Strata with Chives Sesame Salsa Read More vegan, recent, special diet, sides, asian Divyasha Ray 2/8/24 vegan, recent, special diet, sides, asian Divyasha Ray 2/8/24 Numbing Char-siuIsh Eggplants Read More bread, recent Divyasha Ray 12/5/23 bread, recent Divyasha Ray 12/5/23 Black Sesame Holiday Star Bread with Citrus Glaze Read More lunch/dinner, recent, Favorites, asian, special diet, meals Divyasha Ray 10/6/23 lunch/dinner, recent, Favorites, asian, special diet, meals Divyasha Ray 10/6/23 Noodle Soup of My Dreams Read More vegan, sides Divyasha Ray 7/27/23 vegan, sides Divyasha Ray 7/27/23 Clara’s Courgette Oven Fries Read More lunch/dinner, meals, Seasonal Divyasha Ray 6/29/23 lunch/dinner, meals, Seasonal Divyasha Ray 6/29/23 Very Green Summertime Pasta Read More Breakfast, Desserts, recent Divyasha Ray 6/23/23 Breakfast, Desserts, recent Divyasha Ray 6/23/23 Quinoa CCC Cookies Read More salads, recent, Seasonal, sides, Gluten free Divyasha Ray 6/12/23 salads, recent, Seasonal, sides, Gluten free Divyasha Ray 6/12/23 Umami Olivier Salad umami olivier salad Read More lunch/dinner, Seasonal, vegan Divyasha Ray 5/24/23 lunch/dinner, Seasonal, vegan Divyasha Ray 5/24/23 Remy's Ratatouille- My Way Read More basics, Favorites, Seasonal, sides Divyasha Ray 5/18/23 basics, Favorites, Seasonal, sides Divyasha Ray 5/18/23 Not Your Average Bruschetta Read More bread, Breakfast Divyasha Ray 5/9/23 bread, Breakfast Divyasha Ray 5/9/23 Herby Preserved Lemon Soda Bread Read More Desserts, recent Divyasha Ray 4/13/23 Desserts, recent Divyasha Ray 4/13/23 Labneh Frosted Coconut Poppyseed Mini Cakes Read More Older Posts
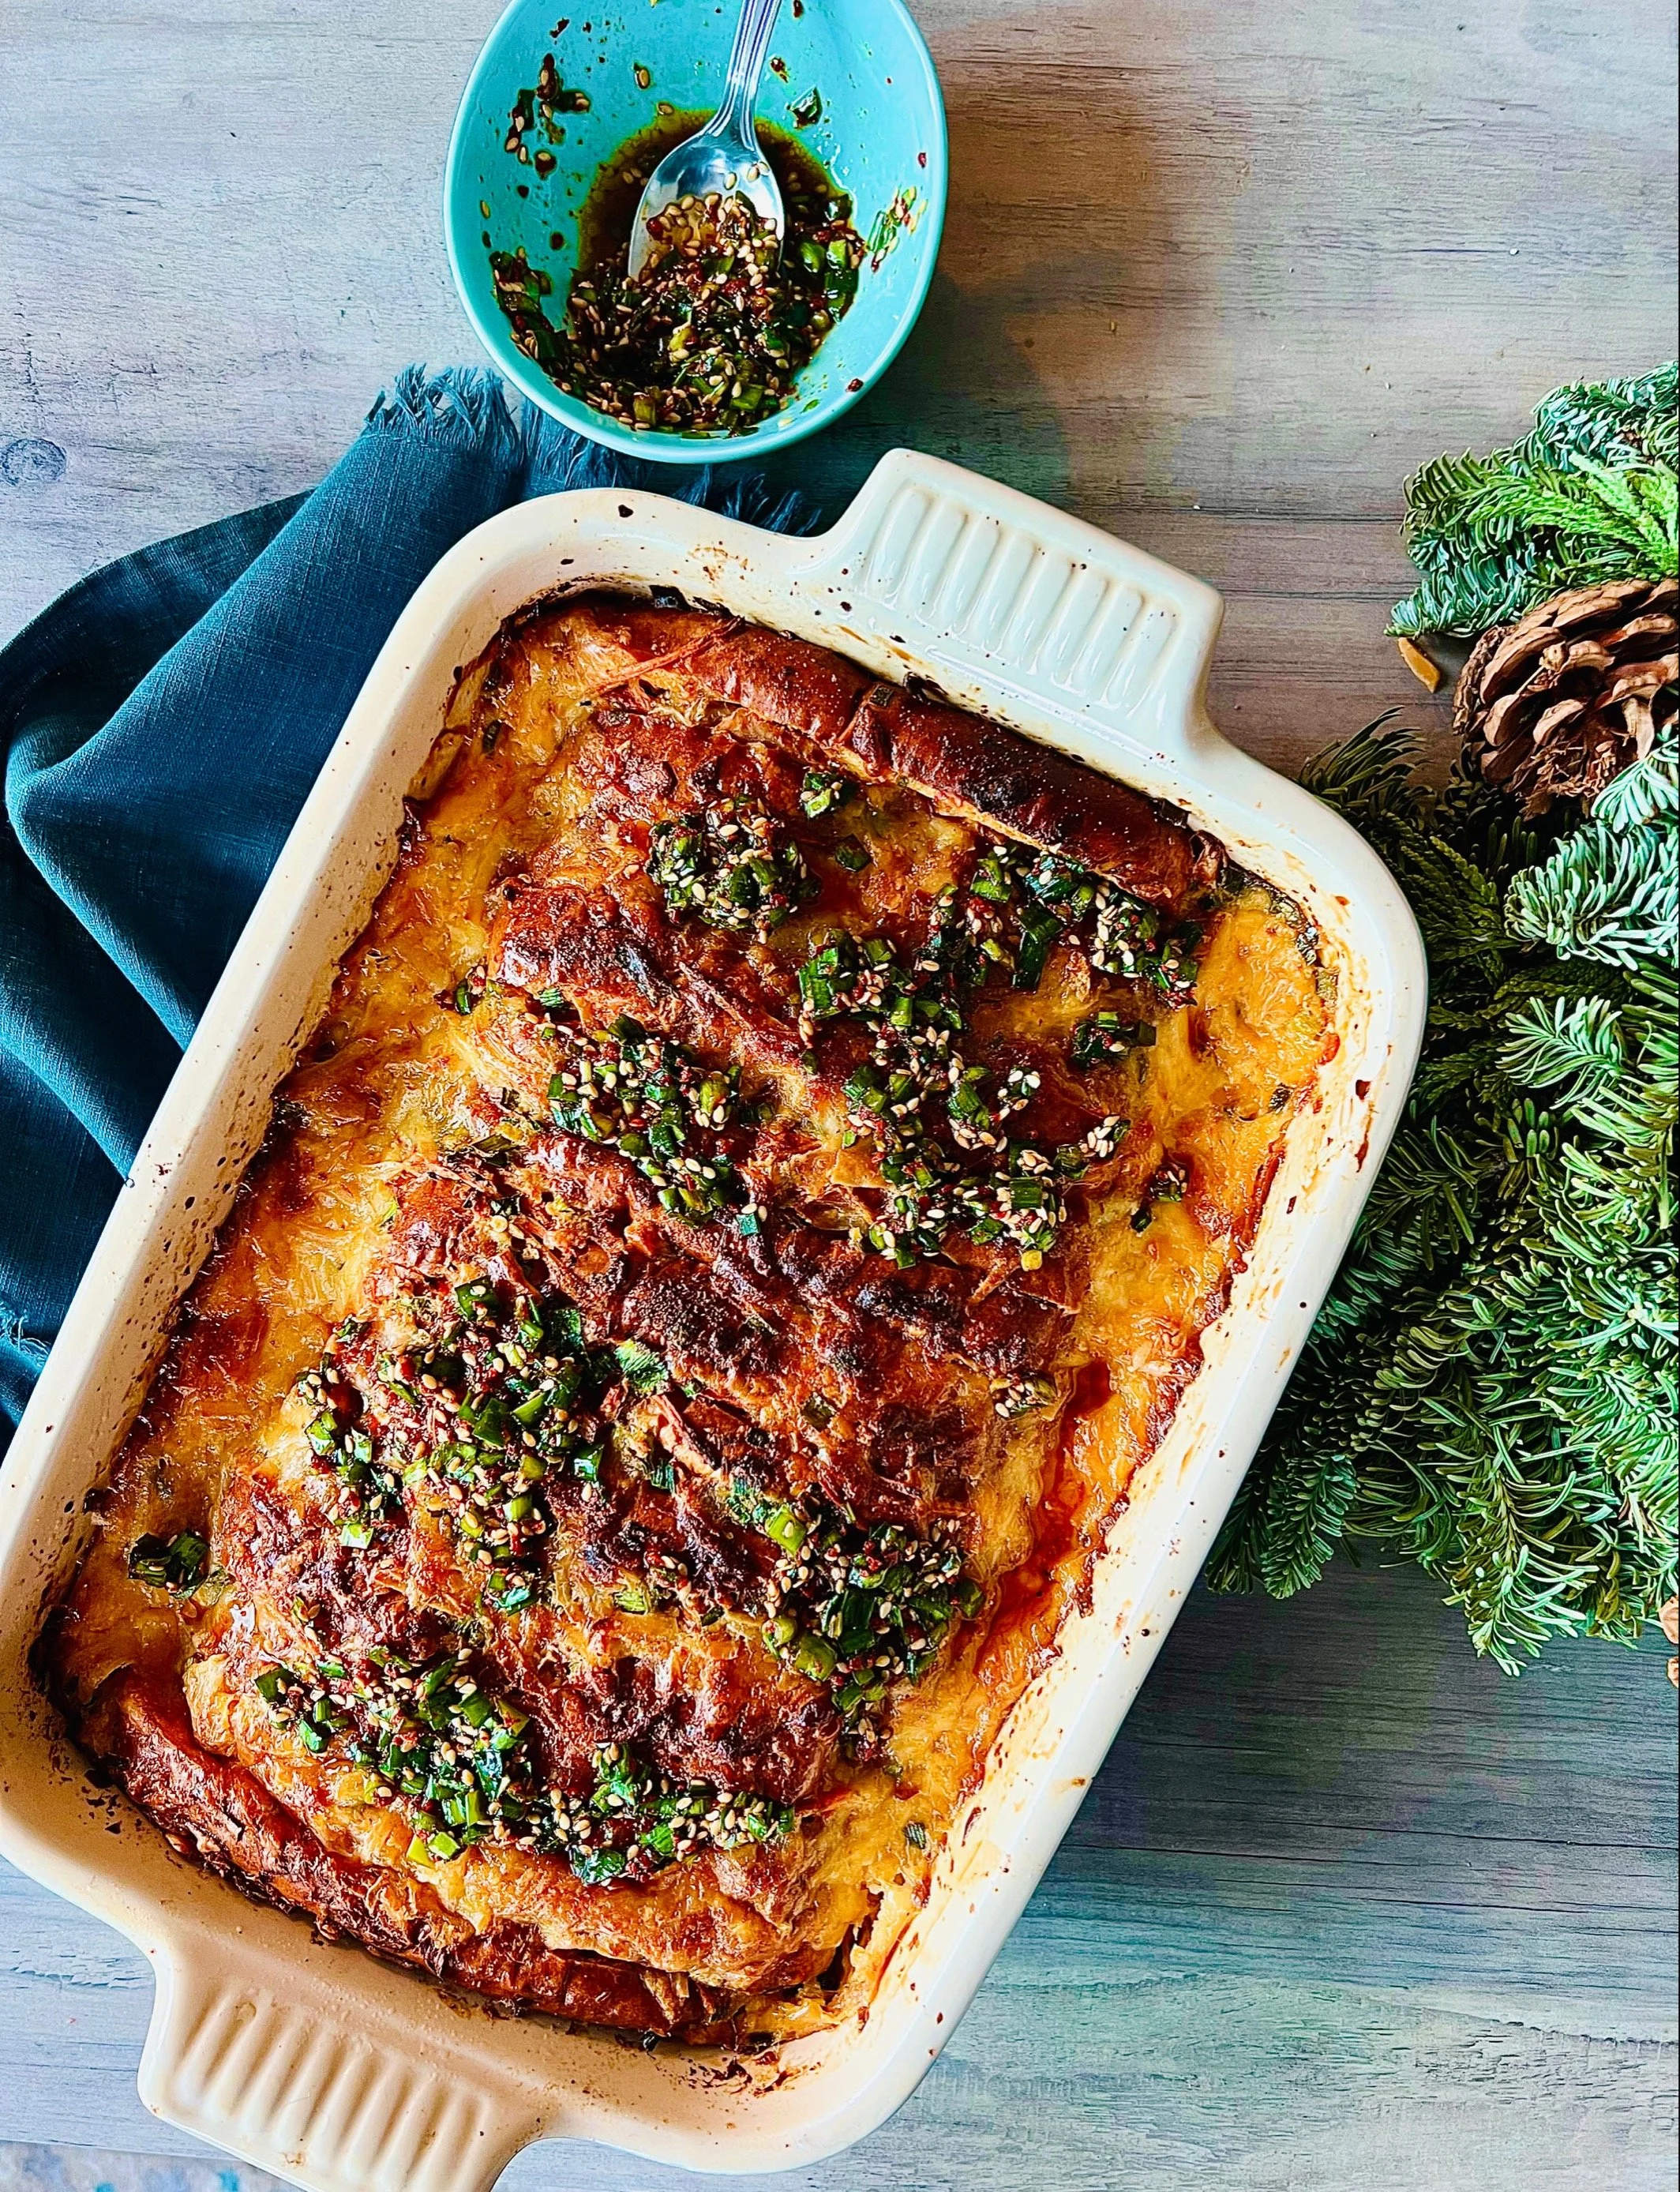
Favorites, meals, recent Divyasha Ray 11/26/24 Favorites, meals, recent Divyasha Ray 11/26/24 Kimchi Hotdog Strata with Chives Sesame Salsa Read More
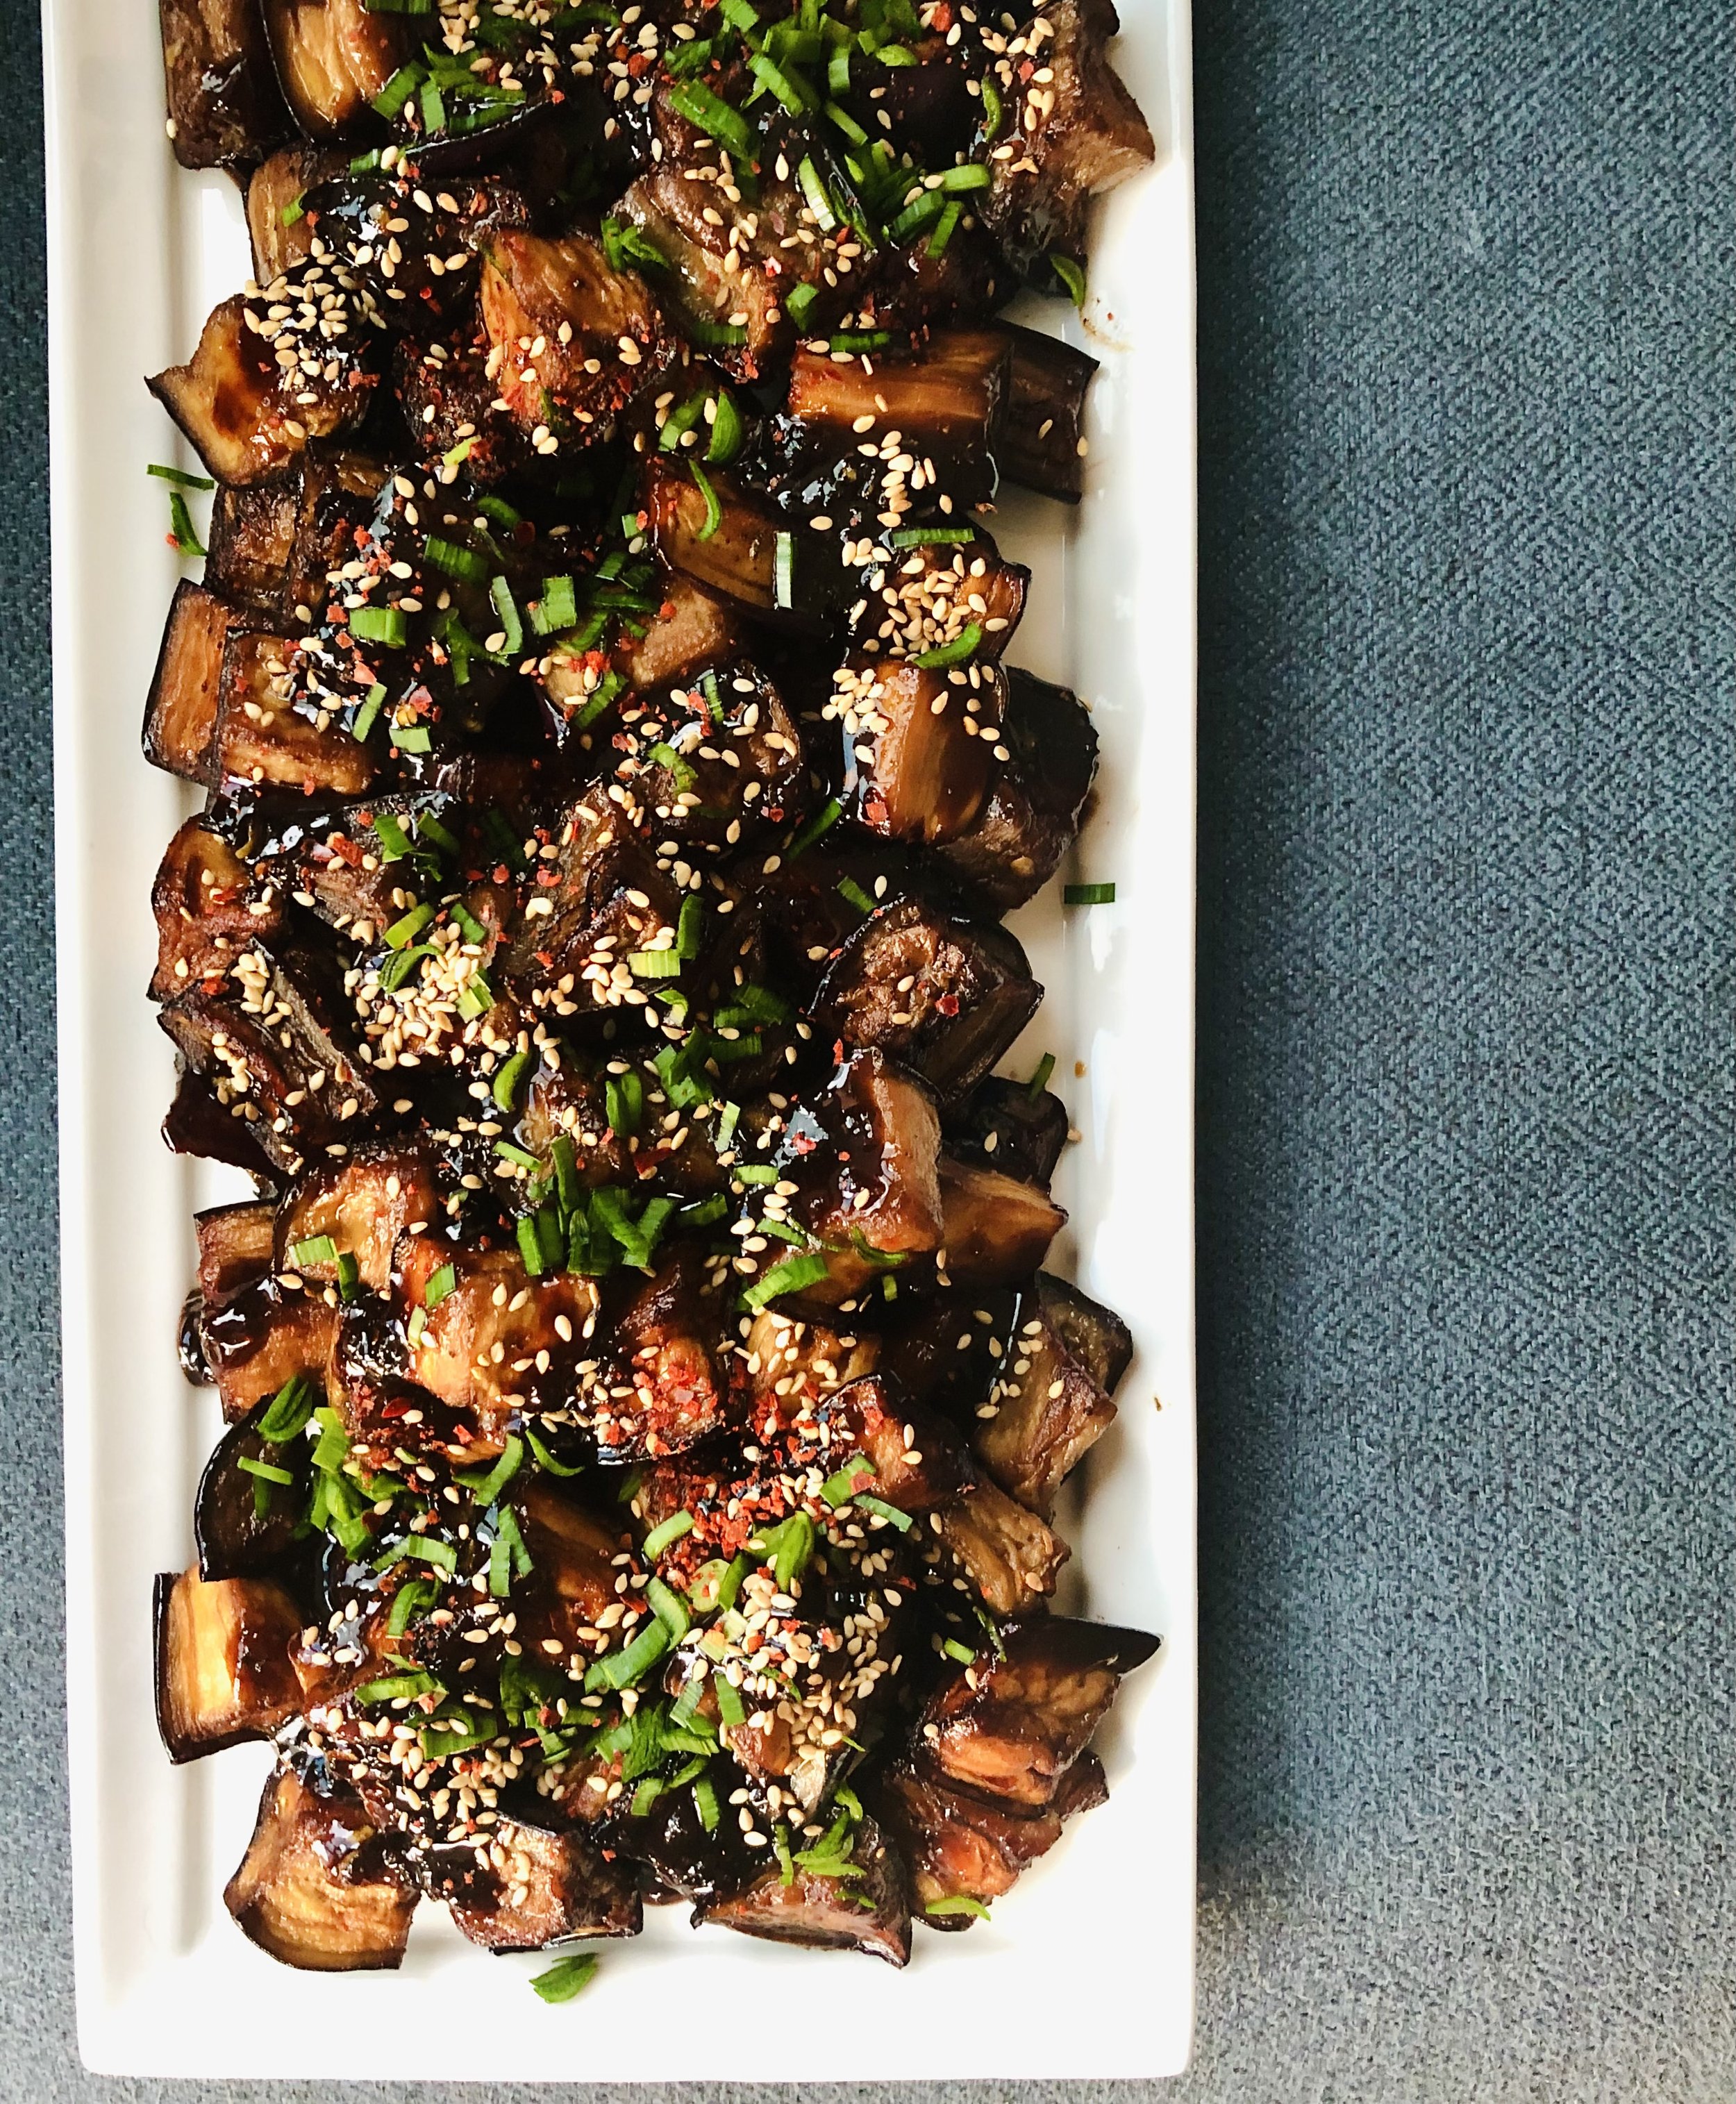
vegan, recent, special diet, sides, asian Divyasha Ray 2/8/24 vegan, recent, special diet, sides, asian Divyasha Ray 2/8/24 Numbing Char-siuIsh Eggplants Read More
bread, recent Divyasha Ray 12/5/23 bread, recent Divyasha Ray 12/5/23 Black Sesame Holiday Star Bread with Citrus Glaze Read More
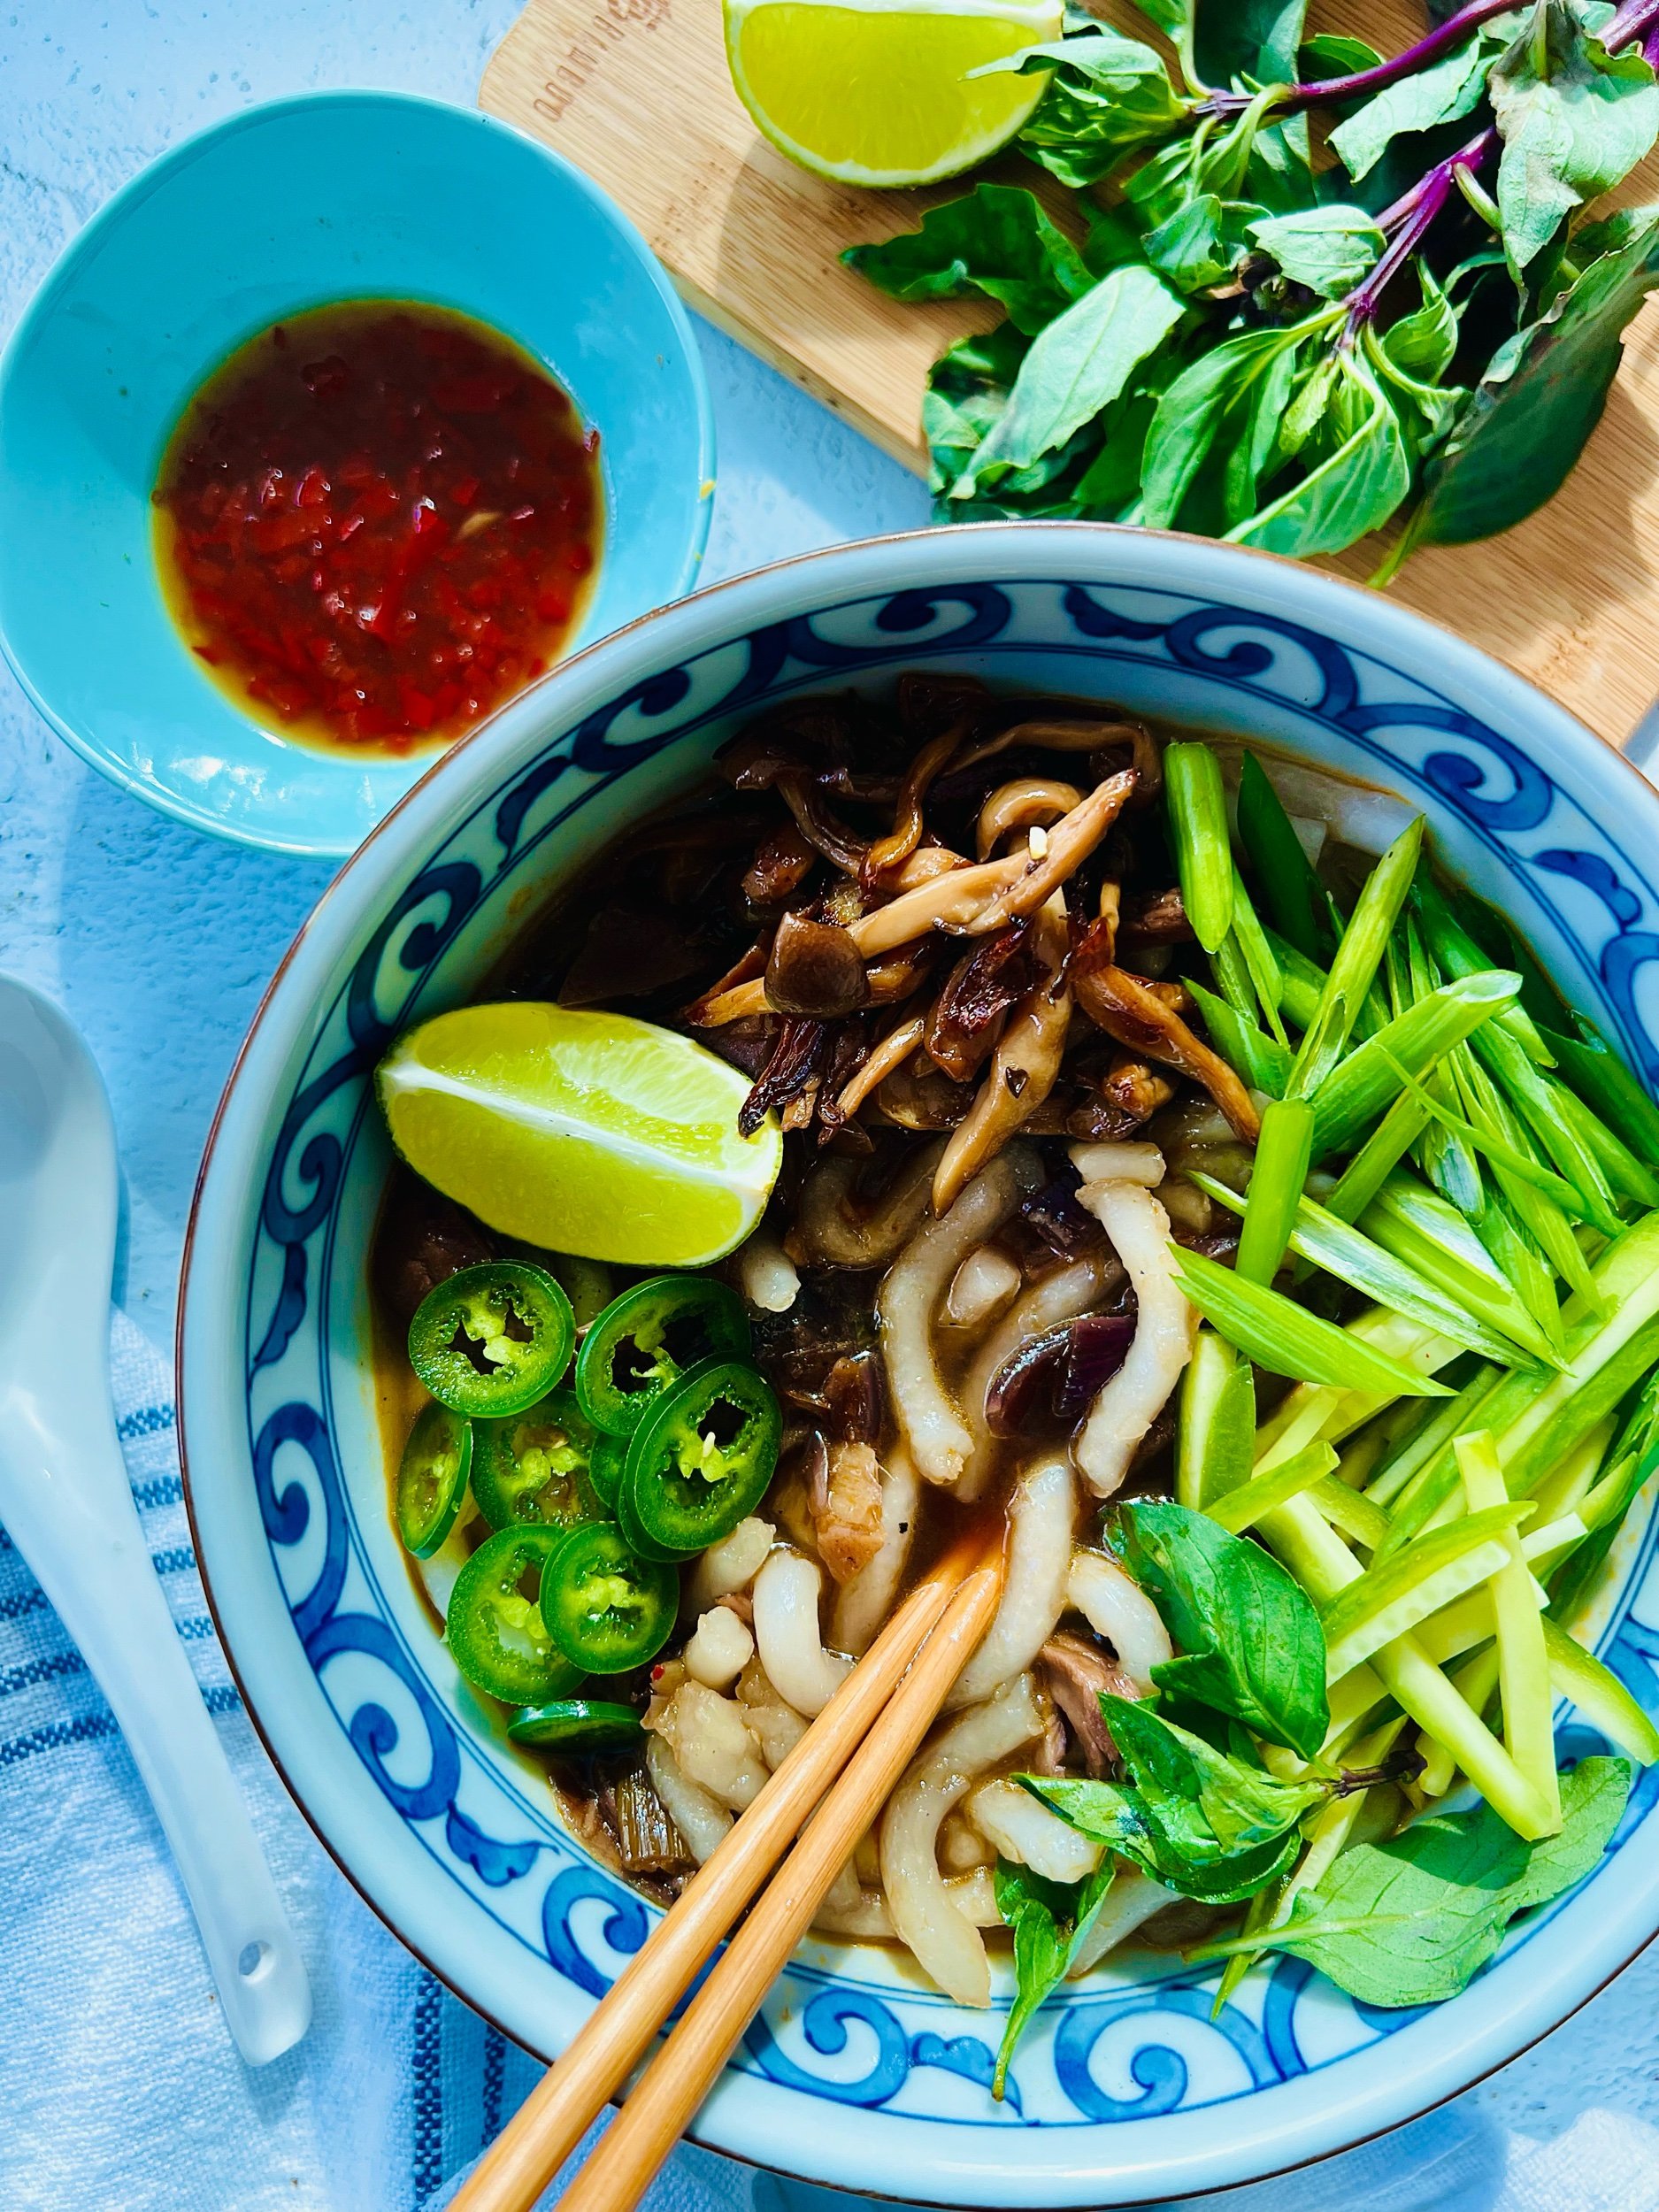
lunch/dinner, recent, Favorites, asian, special diet, meals Divyasha Ray 10/6/23 lunch/dinner, recent, Favorites, asian, special diet, meals Divyasha Ray 10/6/23 Noodle Soup of My Dreams Read More
vegan, sides Divyasha Ray 7/27/23 vegan, sides Divyasha Ray 7/27/23 Clara’s Courgette Oven Fries Read More
lunch/dinner, meals, Seasonal Divyasha Ray 6/29/23 lunch/dinner, meals, Seasonal Divyasha Ray 6/29/23 Very Green Summertime Pasta Read More
Breakfast, Desserts, recent Divyasha Ray 6/23/23 Breakfast, Desserts, recent Divyasha Ray 6/23/23 Quinoa CCC Cookies Read More
salads, recent, Seasonal, sides, Gluten free Divyasha Ray 6/12/23 salads, recent, Seasonal, sides, Gluten free Divyasha Ray 6/12/23 Umami Olivier Salad umami olivier salad Read More
lunch/dinner, Seasonal, vegan Divyasha Ray 5/24/23 lunch/dinner, Seasonal, vegan Divyasha Ray 5/24/23 Remy's Ratatouille- My Way Read More
basics, Favorites, Seasonal, sides Divyasha Ray 5/18/23 basics, Favorites, Seasonal, sides Divyasha Ray 5/18/23 Not Your Average Bruschetta Read More
bread, Breakfast Divyasha Ray 5/9/23 bread, Breakfast Divyasha Ray 5/9/23 Herby Preserved Lemon Soda Bread Read More
Desserts, recent Divyasha Ray 4/13/23 Desserts, recent Divyasha Ray 4/13/23 Labneh Frosted Coconut Poppyseed Mini Cakes Read More